Guide
Sew-in hairstyles: middle part, side part, half braids, curly and more
Every sew-in style starts with the base under it. Here is what each look needs: leave-out, closure, frontal or braids, and how much upkeep it takes.
Published
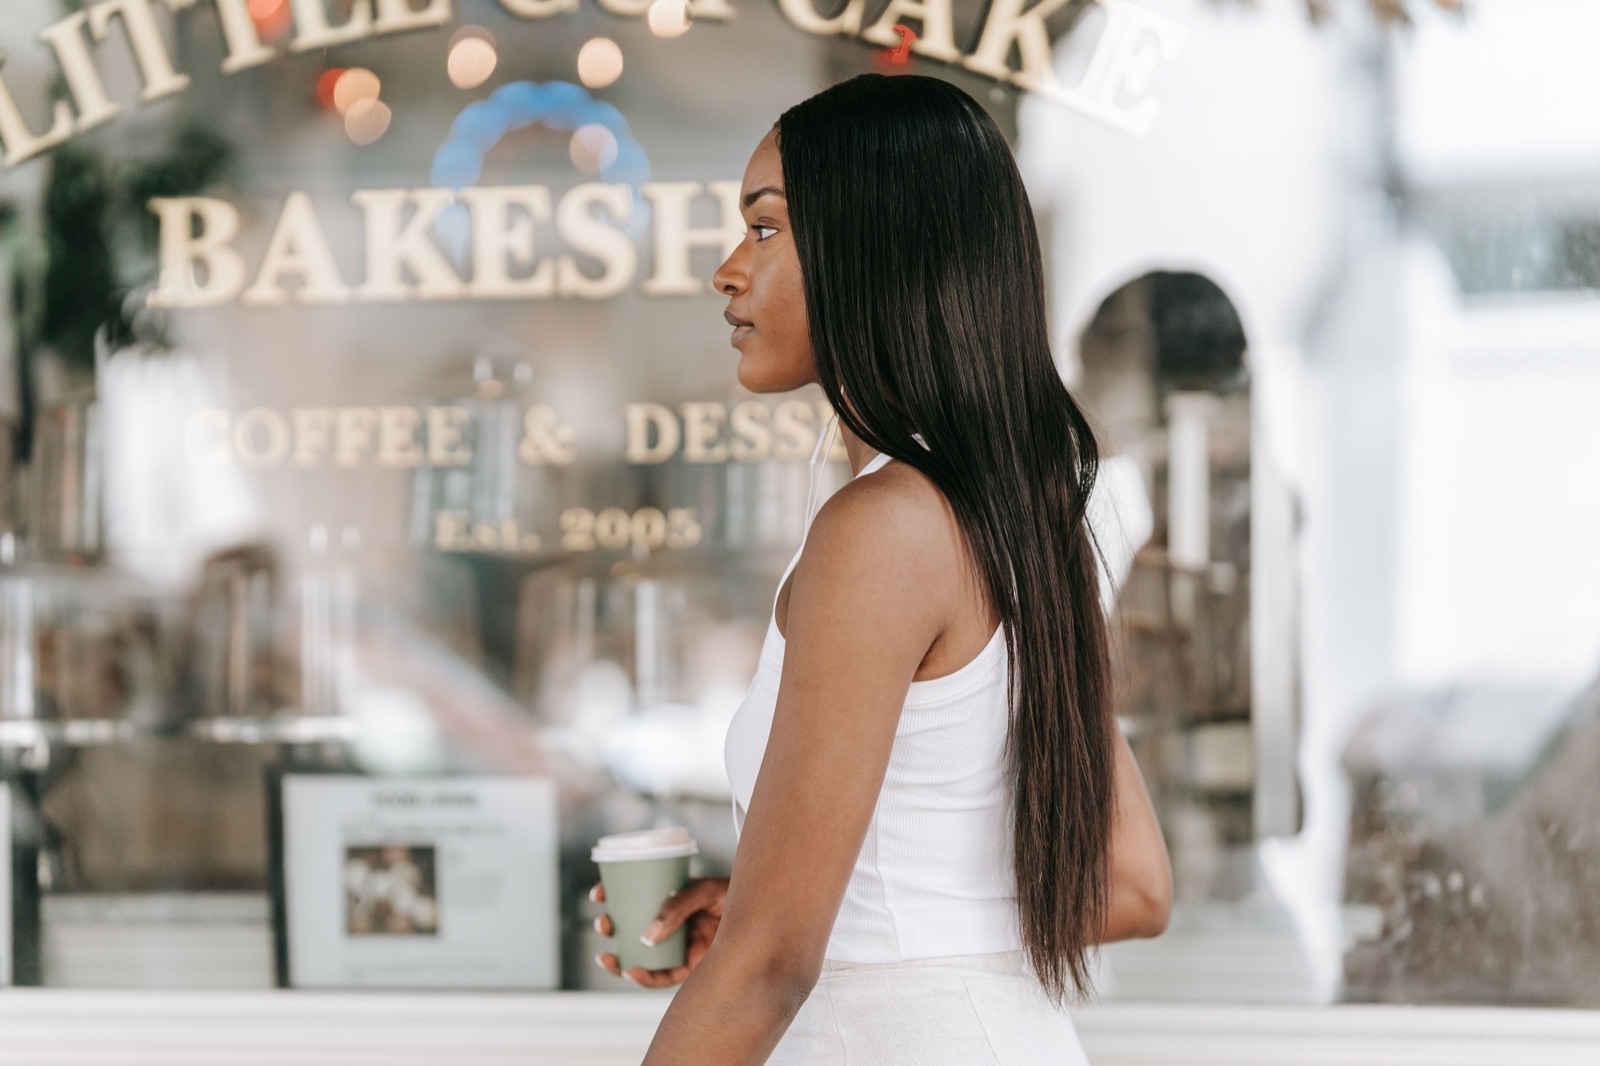
Sew in hairstyles look endlessly different, but every one of them is built the same way: your hair is braided down, wefts are sewn onto the braids, and something covers the part. What decides the style is that last piece. Leave-out, a closure, a frontal or braids at the front each allow some styles and rule out others. This guide walks through the most requested sew-in styles by what they need underneath, so you can pick a look and know what to ask for, how many bundles to buy and how much upkeep to expect.
Sew-in hairstyles at a glance
| Style | What covers the part | Braid base | Heat on your own hair | Can go up in a ponytail |
|---|---|---|---|---|
| Middle part with leave-out | A strip of your own hair | 7–9 cornrows straight back | Usually, to blend | Usually not |
| Middle part with closure | A closure | 6–8 cornrows in a beehive | None | No |
| Side part with leave-out | One side of your own hair | 7–9 cornrows, angled toward the part | Usually, to blend | Usually not |
| Side part with closure | A closure set off-center | 6–8 cornrows in an offset beehive | None | No |
| Deep side part, parts anywhere | A lace frontal | 5–7 cornrows straight back | None | Yes |
| Vixen | Leave-out along a cross-shaped part | 8–12 cornrows in four sections | Yes, along the parts | Yes |
| Half braids half sew-in | Braids at the front | Cornrows front and back | None if the front is fully braided | The back hangs loose |
Braid counts and patterns come from Mayvenn's braid pattern guide; ponytail options from its closure vs frontal guide. The braid patterns themselves are drawn out in our sew-in braid pattern guide.
Middle part sew-in
A middle part is the classic sew-in look: hair falling evenly on both sides of a straight center part. There are two ways to get it.
With leave-out
A strip about an inch wide is parted down the center and left out, and the rest is cornrowed straight back. The wefts are sewn up to the edge of the strip and your own hair falls over the last tracks. Mayvenn calls it the lowest-cost full look, since you need no closure, but notes that the strip needs heat to blend every time you style it.
With a closure
The cornrows spiral into a beehive with the center coiled flat, and a closure sits on top where the part is. Nothing of yours is left out, so the style adds no heat to your hair, but the part stays where the closure is for the whole wear. Our closure sew-in guide shows the install.
Side part sew-in
Mayvenn's braid pattern guide notes that a side part reads softer than a middle part and covers a thinner hairline better.
With leave-out
The heavier side is parted off and left out, and the rows are angled toward the part so your hair falls over the tracks. Mayvenn suggests rotating sides between installs so the same section is not heat-styled every time.
With a closure
The beehive is offset to one side so the closure sits under the part. It is harder to lay flat than a centered beehive, and a rushed braid-down can leave a ridge under the lace. A 5x5 closure gives a little more room to move the part than a 4x4, according to Mayvenn's closure vs frontal guide.
Deep side part sew-in
A deep side part starts far over toward one ear. That is outside the area a closure covers, so this look is usually done with a frontal, which runs ear to ear (about 13x4 inches) and can be parted anywhere, including off-center and deep side parts. A deep side leave-out is possible too, but it means more of your own hair out and blended. See closure vs frontal for the trade-offs.
Ponytails, updos and parts you can change
If you want to wear your hair up, the base has to cover the hairline all the way around the front.
- Frontal sew-in. The lace runs from ear to ear, so the hair can be pulled back into a half-up or full ponytail. The braid-down is the flattest, 5 to 7 cornrows straight back. The cost is upkeep: Mayvenn says frontals cost more, take longer to install and need their edges laid every few days.
- Vixen sew-in. The head is split into four quadrants by a cross-shaped part, each braided and sewn separately with leave-out along the parts. Mayvenn lists middle parts, side parts, pigtails, a high ponytail or a bun on one install. It also has the longest braid time (60 to 90 minutes in Mayvenn's guide), and the leave-out along the parts needs heat to blend.
A closure sew-in is the one to skip for updos: as Mayvenn puts it, you cannot pull the hair back, because the tracks start right behind the closure.
Half braids half sew-in
This braid sew-in hairstyle pairs braids at the front with loose wefts at the back. The front section is parted off and braided, often in cornrows, with French or Dutch, box or halo braids as other options named in Jen Hair's guide. The back is braided down and the wefts are sewn on so they hang loose behind the braids.

Because no hair is left out, there is no heat on your own hair. The front braids are the part to watch: they sit right on the hairline, where the American Academy of Dermatology advises loosening braids, and a style that hurts is too tight. Ask for firm, even braids rather than tight ones, and keep the wefts at the back light enough not to pull. Braid styles on their own are covered in braids.
Curly sew-in styles
Curly wefts change both the look and the routine. With leave-out, a curly install is often easier to blend than a straight one: if the wefts are close to your natural or stretched texture, the leave-out can often be set with a twist-out or braid-out instead of a flat iron. Our leave-out vs no leave-out comparison covers blending in more detail. With a closure or frontal, choose one in the same curl pattern as the bundles.

Keeping curls defined
Mayvenn's curly weave care routine:
- Detangle on slightly damp hair with a wide-tooth comb or detangling brush, from the ends up toward the roots.
- Mist with water daily and follow with a leave-in conditioner for curly hair, avoiding harsh alcohols and silicones.
- Shampoo at least once a week with a moisturizing, sulfate-free shampoo, washing in a downward motion, and co-wash in between.
- At night, put the hair in a loose pineapple or plaits and wrap it in a silk or satin scarf.
Short sew-in styles: bobs and quick weaves
A bob uses shorter bundles and fewer of them. Mayvenn's rule of thumb is 2 bundles for lengths up to 14 inches and 3 for 16 inches and longer, plus a closure or frontal if you are not leaving hair out. A sew-in bob can be finished with any of the bases above.
Many short styles are also done as a quick weave. That is not a sew-in: StyleSeat describes it as wefts glued onto a protective cap over your braided or molded hair, installed in about 1.5 to 2 hours and worn for about four to five weeks. It is quicker and cheaper, but the glue is the main risk to your hair if it reaches it.
How to choose your sew-in style
- You want the most natural part and the lowest cost: leave-out, middle or side part, if you are happy to blend it.
- You want no heat on your own hair: a closure for one or two parts you keep the whole time, or half braids half sew-in.
- You want ponytails or to change your part: a frontal or a vixen sew-in.
- You have a thinner hairline: Mayvenn's notes favor a side part, which drapes more hair over the front.
- You want low upkeep: a closure, with no leave-out to heat-style and no frontal edges to re-lay.
Whatever the style, the needle and thread matter as much as the look: our guide to sew-in needle and thread covers what to use.
Wear time and care
StyleSeat suggests washing a sew-in about as often as your own hair, with no more than two weeks between washes, and drying the braids underneath completely, for example 30 to 45 minutes under a hooded dryer, because braids left damp can turn mildewy and irritate the scalp. It recommends taking a sew-in down after 6 to 8 weeks and giving your own hair 2 to 4 weeks off before the next install.
The AAD notes that weaves and extensions can cause hair loss when they are too tight and advises removing a weave right away if it causes pain or irritates the scalp. If you notice thinning or broken hairs at the hairline, see a board-certified dermatologist. More installs and techniques are in sew-ins.
Questions
What is the most natural-looking sew-in style?
A sew-in with leave-out usually looks the most natural at the part, because the hair at the part is your own. The catch is that the leave-out has to match the texture of the wefts, which often means heat. A closure or frontal looks natural too when the lace blends with your scalp, and it keeps all of your hair braided away.
Can you do a side part with a closure sew-in?
Yes. The braids are done in an offset beehive so the closure sits toward one side, and a 5x5 closure gives more room to move the part than a 4x4. For a deep side part, a frontal gives the most freedom, since it can be parted anywhere along the hairline.
Can you wear a ponytail with a sew-in?
Only with the right base. A closure sew-in can't be pulled back, because the tracks start right behind the closure. A frontal sew-in or a vixen sew-in, which splits the head into four sections with leave-out along the parts, can be worn up.
What is a half braids half sew-in?
It is a style where the front section of your hair is braided, usually in cornrows, and the back is braided down and covered with sewn-in wefts that hang loose. Keep the front braids loose at the hairline, since tight braids there can lead to hair loss.
How long do sew-in hairstyles last?
A sew-in is usually taken down after 6 to 8 weeks, and StyleSeat suggests giving your own hair a break of 2 to 4 weeks before the next install. A glued quick weave lasts less, about four to five weeks.
Sources
- Mayvenn — Sew-In Braid Patterns: 6 Braid Downs for Every Install
- Mayvenn — Closure vs Frontal: What's the Difference?
- Mayvenn — How to take care of curly weave
- Jen Hair — How to achieve a half sew-in with braids in front
- StyleSeat — What Is a Quick Weave and How Is It Installed?
- StyleSeat — How to wash a sew-in
- American Academy of Dermatology — Hairstyles that pull can lead to hair loss
Read next
Sew-in with leave-out vs no leave-out: leave-out, closure or frontal
How a leave-out, a closure and a frontal compare on blending, heat, parting and upkeep, and who each one suits.
Human hair bundles: wefts, textures, lengths and how many you need
What a bundle actually is, what the labels on it mean, and how many you need for the length you want.
Hair extension types: clip-in, halo, tape-in, sew-in, I-tip and K-tip compared
How each kind of extension attaches, how long one install lasts, how it comes out, and which ones you can put in yourself.