Guide
Quick weave: protective cap, bonding glue and a leave-out or closure, step by step
Prep and protect your hair, glue the tracks to the cap instead of your hair, and take it out without a fight.
Published
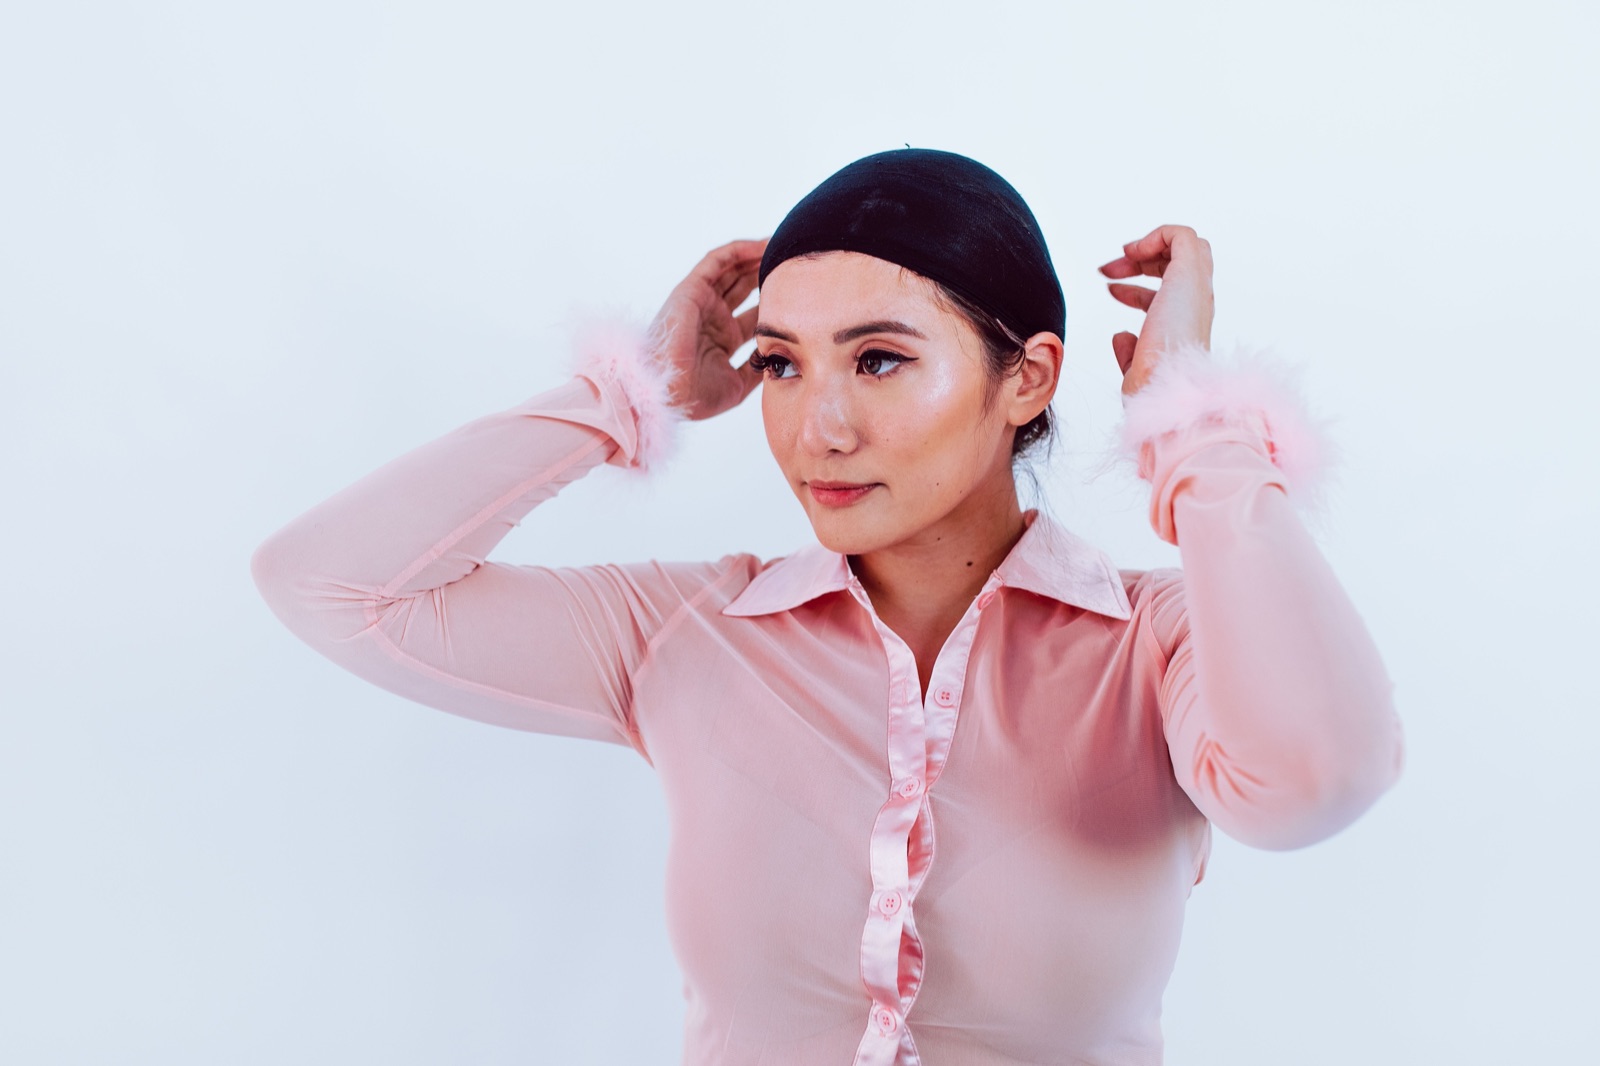
A quick weave is a full head of wefts glued onto a protective cap, not onto your hair. Your own hair is braided flat or molded down, covered with one or two caps, and the tracks are bonded to the cap from the nape up. You finish with a small leave-out at the front or a closure on top. It is usually quicker to install than a braided sew-in, because nothing is sewn. This guide walks through prep, the cap, gluing, the leave-out or closure, and removal, which matters as much as the install.
What you'll need
Essentials
-
Hair wefts (bundles)
: the hair you glue on; a short bob takes less than a long layered style. -
Bonding glue made for weaves
: holds each track to the cap. Pick a color close to the hair so dried glue does not show. -
Stocking or wig cap (one or two)
: the barrier between the glue and your own hair. -
Molding gel or a liquid protective cap
: slicks the hair flat and adds a second layer of protection under the glue. -
Rat-tail comb and sectioning clips
: for clean parts, marking the leave-out and holding hair out of the way. -
Sharp shears
: cut wefts to length and trim the cap around the leave-out. -
Hooded or handheld dryer
: the cap layers must be completely dry before any glue goes on.
Optional
-
Lace or silk-base closure
: replaces the leave-out if you want no natural hair out. -
Bond remover or an oil
: loosens the glue at removal so the cap lifts instead of tearing.
How a quick weave works
Everything depends on one layer: the cap. The glue holds the wefts to the cap, and the cap sits over hair that has been slicked flat and protected. StyleSeat's guide puts it plainly: hair glue is your biggest enemy. If glue soaks through the cap and reaches your hair, removal tears and breaks it. So most of the steps below are about keeping that barrier intact.
Because nothing is sewn, a quick weave also avoids tight cornrows. That trade-off is why many people choose it for a short style or a trial look. The American Academy of Dermatology, on the other hand, suggests sewn-in weaves over bonded ones, so treat glue with care either way.
Prep your natural hair
Start with clean, conditioned hair, and dry it completely: StyleSeat's guide stresses that everything should be fully dry before the install, and hair sealed damp under a cap and glue has no way to dry out.
Braid it flat or mold it down
You have two options:
- Molding. Comb the hair straight back (or toward the nape) and slick it down with molding gel so it lies flat to the head. This is the most common choice for short and medium hair.
- Flat braids. Braid the hair in simple straight-back or slightly curved cornrows. Keep them flat and not tight: the AAD lists tight cornrows among the styles that can cause hair loss, and pain is the sign that a style is too tight. If you notice thinning at the hairline, see a board-certified dermatologist. The braid pattern guide covers layouts.
Decide on leave-out or closure now
If you want leave-out, part it off before you mold or braid. A side part quick weave usually leaves out a section along one side of the part; a middle part quick weave leaves out a narrow strip along the center. Braid or mold that hair separately and clip it out of the way, so the cap goes on underneath it.
If you want no leave-out, mold or braid everything. You will finish with a closure for quick weave at the top.
Lay the protective cap
One cap, two caps or a liquid cap
Pull a stocking or wig cap over the molded hair so it fits snugly with no folds. StyleSeat suggests one cap, or two for extra security. Many people add a liquid protective cap or glue protector on top. KISS, for example, says on its product page to apply its Protective Wrap Liquid Cap generously with a tint brush or comb, spread it to cover the whole area, and blow-dry until completely dry before attaching wefts. Follow the instructions on whatever product you use.
Mark the leave-out and dry everything
With a pencil or the tail of your comb, mark where the leave-out sits, so you never glue tracks over it. Then dry the whole cap completely under a hooded dryer or with a blow dryer. Glue on a damp cap does not set well and can seep through.
Glue the wefts onto the cap

Choose and prepare the hair
Short and bob styles use short wefts, sometimes sold as multi-length packs for layered cuts. Longer styles need full bundles. Lay the hair out by length before you start: shortest at the nape, longest at the top for a quick weave bob, or one length all over for a blunt cut.
Measure each weft against the row you are about to cover and cut it to length. Cutting a weft can let the stitching unravel at the cut end unless the end is sealed, so seal it with a liquid weft sealer, or fold the weft at turns instead of cutting.
Apply the glue to the weft, not the cap or your head
- Start at the nape, one row above the hairline.
- Run a thin line of quick weave glue along the top seam of the weft, on the stitched band. A thin line holds better than a thick one, which stays tacky and is more likely to soak through the cap.
- Wait until the glue turns tacky (your glue's label gives the time), then press the weft onto the cap along your row.
- Hold it flat for a moment so the whole band makes contact.
- Let each track set before you lay the next one on top of it. StyleSeat's guide also says to let each track dry before adding the next.
Work up the head
Keep rows close enough that the cap does not show between them, and follow the curve of the head. At the sides, angle the tracks slightly toward the back so they lie the way the hair will fall. Stop just below your leave-out mark, or below where the closure will sit.
For a half up half down quick weave, place the top rows a little closer together so the tracks stay hidden when the top section is pulled up.
Finish with leave-out or a closure
Leave-out
Cut the cap open along the leave-out mark and pull your own hair through. Glue the last weft just under the leave-out so it follows the part line, then let the leave-out fall over it. To blend straight hair, the leave-out usually needs heat; the leave-out vs no leave-out comparison covers what that costs your hair and how to keep heat down.
Closure
With all hair glued down, position the closure over the crown and front so its edge sits at your natural hairline. Secure it with a little glue along the back and sides on the cap, or sew it to the cap with a curved needle. Keep glue off the lace near the hairline and off your skin. The closure sew-in guide explains placement and parting in more detail.
Cut and style
Once everything is set, cut the shape, then style. Synthetic hair should only see heat if its label says it is heat-friendly; follow the temperature on the packaging. Human hair can be curled or flat-ironed like your own.
Common quick weave mistakes
- Gluing onto a damp cap. The glue does not grip and is more likely to seep through.
- Too much glue. Thick glue stays gummy and soaks through; a thin line is enough.
- Glue near the leave-out. One drop on your own hair turns into a knot or a broken patch at removal.
- Too much leave-out. It means more heat to blend and more of your hair exposed.
- Keeping it in too long. As the glue weakens, tracks lift and shed. StyleSeat gives about four to five weeks and points to shedding as the sign it is time to take it out.
Day-to-day care
Wrap or cover your hair at night to keep the tracks flat. Keep oils and heavy oil-based products away from the bonded tracks: StyleSeat notes that oil-based products, pool chemicals and salt water weaken the glue. If the AAD's warning signs show up (pain, stinging or irritation on the scalp), remove the weave rather than wait it out.
How to remove a quick weave
Slow removal is what keeps your hair. StyleSeat recommends a professional, but describes a home method along these lines:
- Clip the leave-out up and away from the cap.
- Apply an oil-based product or a bond remover along the tracks and the cap edge, and leave it on for a few minutes to loosen the glue.
- Run warm water over the hair to soften it further.
- Lift the cap slowly from the edges. Where it resists, add more product and wait; do not pull.
- Work product around the leave-out to free any stray glue.
- Take down the braids or rinse out the gel, wash with a deep-cleansing shampoo to remove residue, and follow with a deep conditioner.
Give your hair a break before the next install. If you like the look but want less glue, a braided sew-in with a needle and thread is the usual next step.
Questions
How long does a quick weave last?
StyleSeat's guide puts a quick weave at about four to five weeks. When the tracks start shedding or lifting, it is time to take it out rather than re-glue it.
Does quick weave glue damage your hair?
Bonding glue can pull out and break hair if it gets onto it, which is why the glue goes on the cap and never on your hair or scalp. A snug cap, a protective layer underneath and a slow, oil-softened removal are what keep your own hair out of the glue.
Can you do a quick weave with a closure instead of leave-out?
Yes. You glue the tracks up to the crown and then sew or glue a closure on top, so none of your own hair is out. It costs more than leave-out but means no flat-ironing of your natural hair to blend.
Is a quick weave or a sew-in better for your hair?
The American Academy of Dermatology suggests sewn-in weaves rather than ones that use bonding glue. A quick weave is faster and avoids tight braids, so the choice comes down to how carefully the glue is kept off your hair.
Sources
Read next
Sew-in closure: braid down, place the closure and sew it flat
A full sew-in with no leave-out: the braid base, the wefts and a closure stitched flat at the hairline.
Braid pattern for sew-in weave: straight-back, beehive, vixen and leave-out layouts
Which braid down goes under which install, how many cornrows it takes, and how to keep it flat and gentle on your edges.
Wig cap guide: nylon, HD, mesh and dome caps and how to choose
Which cap goes under a wig and which one you build a wig on, how to match the color to your skin, and how to wear one over braids or long hair.