Guide
Braid pattern for sew-in weave: straight-back, beehive, vixen and leave-out layouts
Which braid down goes under which install, how many cornrows it takes, and how to keep it flat and gentle on your edges.
Published
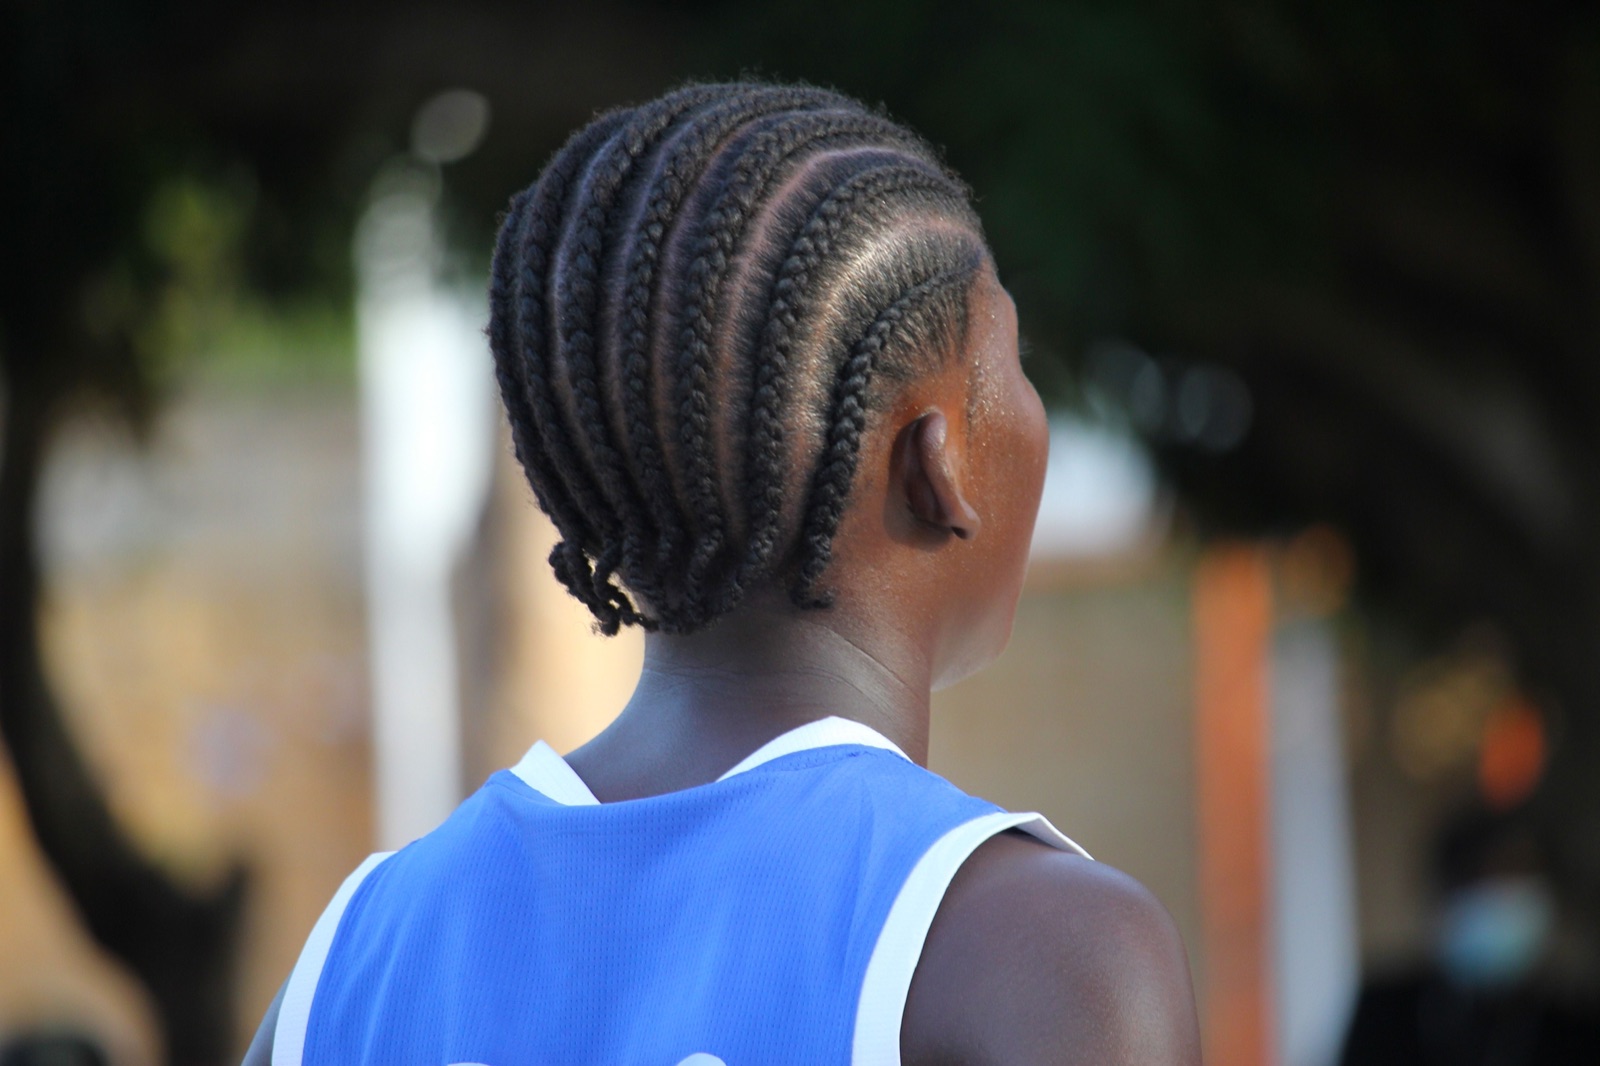
The braid pattern for a sew in weave is the foundation every weft is stitched to, so it decides where you can part, how flat the install lies and whether the tracks show. Pick the pattern for the finished style first, then braid. Below are the common braid downs, which install each one suits, how many cornrows they usually take, and how to braid them flat without stressing your edges.
What you'll need
Essentials
-
Rat-tail comb
: clean, straight parts between cornrows. -
Sectioning clips
: hold the rest of the hair away while you braid one row. -
Braiding gel or a light pomade
: smooths the hair so rows lie flat and stay neat. -
Wide-tooth comb
: detangle stretched hair before you part.
Optional
-
Blow dryer with a comb attachment
: stretches hair so braids lie flatter. -
Thread and a curved needle
: sews down braid ends and the beehive center.
Before you braid down for a sew-in
Start with clean, stretched hair
Mayvenn's braid pattern guide recommends starting with hair that is clean, stretched and trimmed, and not braiding it wet, because hair shrinks as it dries and braids that felt fine wet tighten overnight. It also advises against braiding within a week of a relaxer. Stretch the hair with a blow dryer or a braid-out the day before if you can.
Section the whole head first
Map the pattern before you braid a single row. Part off the leave-out (if any), then clip the rest into the sections the pattern needs. The guide suggests braiding the perimeter anchor braids first: these run along the hairline and around the leave-out or closure area, and the rest of the install is sewn to them.
Leave a buffer at the hairline
A natural hair stylist study guide suggests leaving about 1/4 to 1/2 inch of hair along the hairline, temples and nape unbraided or braided loosely. Your edges carry the least weight that way.

Braid patterns for a sew-in with leave-out
Leave-out patterns use straight-back cornrows. The rows run in the direction the leave-out will fall, so the tracks hide under it.
Middle part sew-in
Leave out a narrow strip along the center part. Braid the rest straight back from the front toward the nape, with the rows on each side of the strip running back and slightly away from it. Mayvenn's guide gives 7 to 9 cornrows and about 40 to 60 minutes.
Side part sew-in
Part off one side of the head along where you will part, and leave that section out. Braid the rest straight back, angling the front rows toward the part so the leave-out falls over the tracks. Same count and time as the middle part. Switch sides between installs so the same hair is not heated and exposed every time.
How much to leave out
Take out less hair than you think you need. Mayvenn's guide points out that a center leave-out is usually flat-ironed to blend every time you style, for the whole install, and that a narrow strip blends fine and risks less. The leave-out vs no leave-out comparison goes deeper on the trade-off.
Sew-in braid patterns with no leave-out
Beehive (circular) for a closure
Cornrows circle the head and spiral inward toward the crown. The last braid coils into the center and is sewn flat under the closure, so the closure has a smooth surface to lie on. Mayvenn's guide gives 6 to 8 cornrows and about 30 to 45 minutes. This is the standard base for a middle part closure sew-in.
Offset beehive for a side part closure
The same spiral, with its center moved off to one side, so the closure sits with more hair on one side and the part lands where you want it. Same count and time as the centered beehive.
Straight-back for a frontal
A frontal covers the hairline from ear to ear, so there is nothing to blend. Braid straight back with no beehive and no leave-out. Mayvenn's guide gives 5 to 7 cornrows and about 25 to 40 minutes.
Fewer, flatter braids under lace
Under a closure or frontal, every braid can show through the lace as a ridge. Mayvenn's guide notes that more, thinner braids create more ridges, not fewer, so use the smallest number of flat braids that gives you a secure base. Keep them uniform and snug enough to lie flat, but not tight.
The vixen braid pattern for a versatile sew-in
A vixen sew-in splits the head into four quadrants with a cross-shaped part: one part from ear to ear over the crown, one from front to back down the middle. Each quadrant is braided and sewn as its own section, with a small leave-out at the parts, so the hair can be worn in a ponytail, pigtails or an updo.
It is the most work: Mayvenn's guide gives 8 to 12 cornrows and about 60 to 90 minutes. Choose it if a braid pattern for versatile sew in styles matters more to you than install time.
Other layouts you may see
- Horizontal tracks. Rows running ear to ear across the back of the head, used for partial installs where only the back or crown gets wefts.
- Horseshoe or U-shape. The leave-out is isolated in a U-shaped section on top and the braids run around it.
Both appear in the cosmetology study guide as standard layouts alongside the circular pattern.
Choosing a braid pattern for a sew-in weave
Work backward from how you want to wear the hair:
| Finished style | Braid pattern | Cornrows (Mayvenn's guide) |
|---|---|---|
| Middle part with your own hair at the part | Straight-back, center strip left out | 7 to 9 |
| Side part with your own hair at the part | Straight-back, one side left out | 7 to 9 |
| Middle part closure, no leave-out | Centered beehive | 6 to 8 |
| Side part closure, no leave-out | Offset beehive | 6 to 8 |
| Frontal, part anywhere | Straight-back, no beehive | 5 to 7 |
| Ponytails, pigtails, updos | Vixen (four quadrants) | 8 to 12 |
If you are torn between two styles, choose the pattern that keeps the most hair braided down. You can change a part later; you cannot undo heat on a leave-out you did not need.
How to braid down for a sew-in
- Detangle and stretch. Work through the hair with a wide-tooth comb and smooth with a little gel.
- Part the first row. Use the tail of the comb for a clean line in the direction of the pattern.
- Braid flat and even. Pick up a small, even amount of hair with each cross so the braid lies flat. Uniform small-to-medium braids are easier to sew onto and dry faster than thick ones. Small does not mean tiny or tight: the American Academy of Dermatology suggests thicker braids over very small ones because they pull less, so stay away from micro-sized cornrows, especially at the hairline.
- Check the tension. The braid should hold firmly without pulling at the scalp. Pain or stinging means it is too tight; take it out and redo it.
- Secure the ends. Tuck the ends under the next row and sew them down with a curved needle and thread so they do not make a lump under the wefts.
- Repeat across the pattern. Work section by section, keeping parts straight.
Once the base is down, you are ready to sew. See the needle and thread guide for the tools.
Tension and your hairline
The AAD lists tight cornrows and weaves among the styles that can cause hair loss, and advises loosening braids, especially around the hairline. Tight braids can damage the hairline over time; if you notice thinning, see a board-certified dermatologist.
Common braid pattern mistakes
- Too much leave-out. More hair to heat, more to blend.
- Rows running the wrong way. Tracks peek through when the hair falls against them.
- Too many thin braids under a closure. More ridges under the lace.
- Braiding wet hair. It shrinks as it dries, and the braids tighten.
- Bulky braid ends. Tuck and sew them down.
For the whole process from braid to style, see the quick weave guide for a glued option or the closure sew-in guide for a sewn one.
Questions
What is the best braid pattern for a sew-in with leave-out?
Straight-back cornrows, with the rows running the way the leave-out will fall. For a middle part, leave out a narrow center strip; for a side part, part off one side and angle the rows toward the part.
What braid pattern do you use for a closure sew-in?
A beehive: cornrows that spiral toward the crown with the end coiled and sewn flat in the center. Offset the spiral toward one side if you want a side part.
How many braids do you need for a sew-in?
It depends on the pattern. Mayvenn's guide gives 6 to 8 cornrows for a beehive, 7 to 9 for straight-back leave-out patterns, 8 to 12 for a vixen and 5 to 7 under a frontal.
What is a vixen sew-in braid pattern?
The head is split into four sections by a cross-shaped part, and each section is braided and sewn separately with a small leave-out at each part. It lets you wear the hair up, in a ponytail or in pigtails.
Can braids for a sew-in be too tight?
Yes. The American Academy of Dermatology says cornrows should not be tight and that pain means a style is too tight; tight braids can damage the hairline, so see a dermatologist if you notice thinning.
Sources
- Mayvenn — Sew-In Braid Patterns: 6 Braid Downs for Every Install
- Open Exam Prep — Weaving and sew-in techniques (natural hair stylist study guide)
- American Academy of Dermatology — Hairstyles that pull can lead to hair loss
Read next
Sew-in closure: braid down, place the closure and sew it flat
A full sew-in with no leave-out: the braid base, the wefts and a closure stitched flat at the hairline.
Sew-in with leave-out vs no leave-out: leave-out, closure or frontal
How a leave-out, a closure and a frontal compare on blending, heat, parting and upkeep, and who each one suits.
Quick weave: protective cap, bonding glue and a leave-out or closure, step by step
Prep and protect your hair, glue the tracks to the cap instead of your hair, and take it out without a fight.