Guide
Box braids: how to do them, sizes from small to jumbo, and care
Prep, parting, adding the hair and sealing the ends, plus how braid size changes the hair count, the install time and the pull on your scalp.
Published
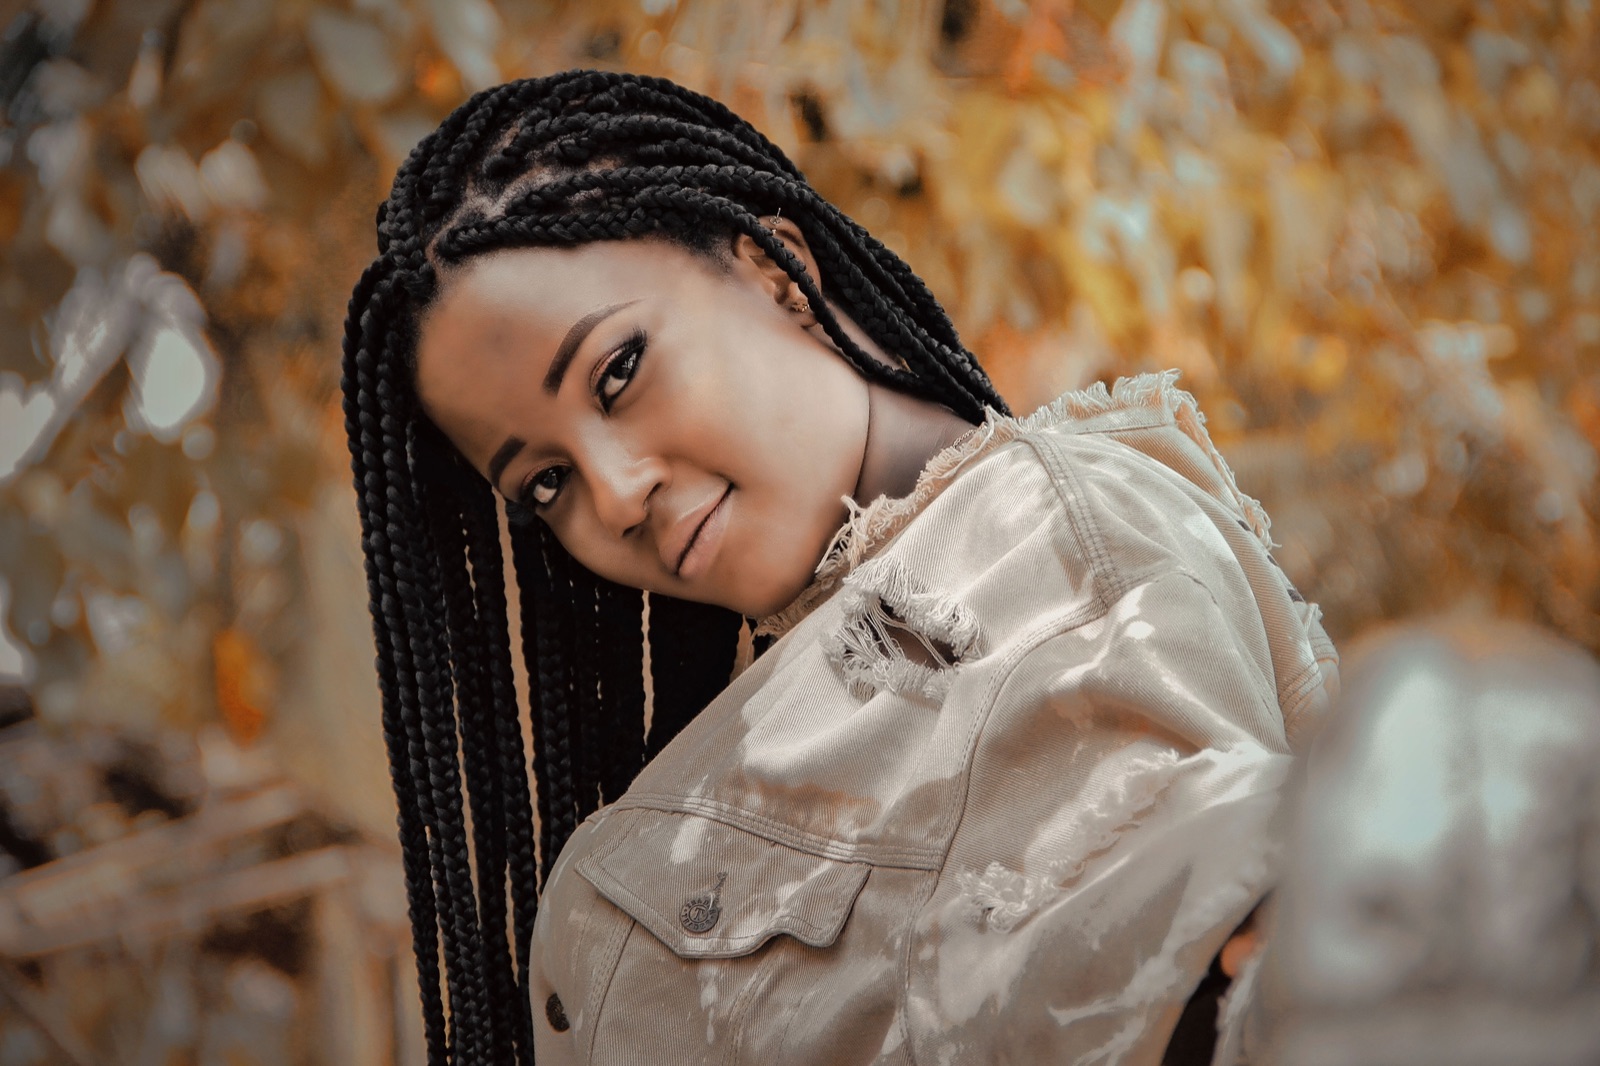
Box braids are individual three-strand braids, each growing from its own square-shaped part, usually lengthened with braiding hair. Tricoci University's braiding program puts it simply: they get their name from sectioning the hair into squares, or boxes. This guide walks through how to do box braids yourself, from washing to sealing the ends, then covers the sizes (small, medium, large, jumbo), how many packs each takes, and how to wear them without straining your hairline.
What you'll need
Essentials
-
Pre-stretched braiding hair
: the extension hair for the whole head, all from one color and brand so the shade matches. -
Rat-tail comb
: square, even parts are what give box braids their look. -
Wide-tooth comb
: detangles your own hair before you part it. -
Sectioning clips
: keep the rest of the hair out of the way while you braid one section. -
Braiding gel
: smooths each part and the base of the braid so it stays neat.
Optional
-
Leave-in conditioner or cream
: adds slip and moisture to your own hair before braiding. -
Heatproof bowl and a kettle
: for dipping synthetic ends in hot water to seal them. -
Satin scarf or bonnet
: keeps the braids smooth at night.
What makes a box braid
Each box braid is a free-hanging braid of its own. In the classic method the braiding hair is looped around the base of your own hair section, which forms a small knot at the root, and then everything is braided together to the ends. StyleSeat's comparison notes that this knot lifts the braid slightly off the scalp and that box braids can feel tighter than knotless braids, especially on a sensitive scalp.
That root knot is the main thing that sets them apart from knotless braids, which start with your own hair and add the extension hair gradually. Cornrows, by contrast, are braided flat along the scalp; box braids hang free from the first stitch.
Prepare your hair
Wash, condition and detangle
Start with clean hair. L'Oréal Paris's box braid tutorial washes and conditions first (or the day before), detangles wet hair with a wide-tooth comb, then dries it fully, by air or with a blow dryer and a heat protectant.
Braid only on dry hair
The same tutorial warns against braiding wet hair: wet braids are heavy, tangle easily and put tension on the scalp, which can lead to breakage. Stretched, dry hair is also easier to part cleanly.
Section the head
Divide the hair into four sections and clip three of them away. L'Oréal suggests starting at the back, where it takes less arm strength, and putting the front up in a bun if you need a break. A little leave-in or cream on the lengths keeps frizz down while you work.
How to do box braids, step by step
- Part one box. With the rat-tail comb, part out a square about 1 by 1 inch for medium braids. Smaller squares give smaller braids. Triangles or other shapes work too; the size of the part sets the size of the braid.
- Smooth the base. Run a small amount of braiding gel over the section so stray hairs do not poke out of the braid.
- Prepare the braiding hair. Take a piece of braiding hair about an inch thick (about two inches for bigger braids, per L'Oréal) and fold it so it forms two pieces joined by a loop at the top.
- Attach it. Loop the braiding hair around the base of your section, then split your own hair and the extension so you have three strands.
- Braid down. Braid tightly enough to hold but never so tight that it pulls; blend your own hair into the extension as you go so it does not stick out lower down.
- Finish the end. Braid all the way down. Synthetic braids are usually sealed at the end with hot water (see below).
- Repeat. Work row by row across the section, then move on to the next section.

Sealing the ends with hot water
Kaneka, the maker of Kanekalon fiber, gives a hot-water setting range of 70 to 90°C, about 158 to 194°F, for its modacrylic fiber. Pour hot water into a heatproof bowl or tall container, dip the braid ends briefly, and blot them with a towel. Keep the water well away from the scalp, check the temperature your pack's maker gives, and test one strand first if you do not know the fiber. L'Oréal's tutorial instead suggests waving a lighter along the ends, calls the step optional and warns that you could set your hair on fire; skip the flame.
Box braid sizes
Small box braids
Small braids come from parts of roughly 1/2 to 3/4 inch. They take the longest to install and the most hair, but they hold their shape well. StyleSeat says smaller braids take longer to do, with micro braids running up to about 12 hours.
Medium box braids
Medium braids, from parts of about 1 inch, are a popular middle ground: quicker than small braids, but still fine enough to style up.
Large, big and jumbo box braids
Large braids use parts of about 1 1/2 inches, and jumbo braids parts of 2 inches or more. They go in fastest and use the least hair. Cosmetology study guides add that the part size and the weight of the added hair together decide how much load each follicle carries: small parts with heavy fiber concentrate stress, and heavy extensions call for wider parts.
How many packs each size takes
Curl Centric's pack guide, for mid-back length and average density:
| Size | Part size | Single bundles (about 85 g each) |
|---|---|---|
| Small | 1/2 to 3/4 inch | About 9 |
| Medium | About 1 inch | About 7 |
| Large | About 1 1/2 inches | About 6 |
| Jumbo | 2 inches or more | About 5 |
Brands vary, so go by the gram weight printed on your pack and buy one or two extra so the color matches. Our braiding hair guide covers fiber types and color numbers.
Box braids hairstyles
Short box braids
Short braids, at chin or shoulder length, use less hair and weigh less. The American Academy of Dermatology notes that shorter braids pull less on the scalp than long, heavy ones.
Box braids with curls
Leave a few inches of curly hair loose at the end of each braid, or pull some curly strands out along the length, and the style moves toward goddess braids or boho braids.
Updos and ponytails
Box braids can be gathered into buns and ponytails, but go gently in the first days, while the braids are still tight at the root, and do not pull the hairline into a high, tight style.
Common mistakes
- Parts that are too small for the hair added. A cosmetology study guide warns against packing so much fiber into a tiny part that the base becomes a tourniquet.
- Tight edges. The same guides list the front hairline, temples and nape as the places traction hair loss starts; keep the braids there looser, larger, or leave the edges out.
- Ignoring pain. Pain, stinging, scabs or crusts, bumps along the parts or a scalp pulled up like a tent mean the tension is wrong.
- Braiding wet hair. L'Oréal's tutorial warns that wet braids are heavy, tangle and put tension on the scalp.
- Uneven extension amounts. Pre-divide the braiding hair into equal pieces before you start so every braid is the same thickness.
Caring for box braids
Day to day
Wash the scalp regularly even while braided; L'Oréal suggests a shampoo with a pointed nozzle so you can reach between the parts. Rinse well and let the braids dry completely. Wrap them in a silk or satin scarf at night, or see our silk vs satin bonnet comparison.
How long to keep them in
The American Academy of Dermatology advises wearing braids for no longer than six to eight weeks, loosening braids at the hairline, choosing thicker braids and keeping them shorter. L'Oréal adds that leaving them in longer can cause matting, tangling and breakage.
Watching your hairline
Traction alopecia, hair loss from long-term pulling, often shows first at the hairline, for example as broken hairs around the forehead, and the AAD notes it can become permanent the longer it goes untreated. If you notice that, or soreness that does not settle, take the braids out and see a board-certified dermatologist. Give your scalp a break between installs.
For a flatter, lower-tension base, see knotless braids; for neat parts and edges, see braiding gel and edge control.
Questions
How long do box braids last?
Up to about six to eight weeks. The American Academy of Dermatology advises wearing braids for no longer than six to eight weeks, and L'Oréal Paris suggests taking box braids out around that point to avoid matting, tangling and breakage.
What is the difference between box braids and knotless braids?
Box braids start with a small knot of braiding hair looped around your own hair at the root. Knotless braids start with your own hair alone and add braiding hair gradually, so there is no knot and the base lies flatter.
What size box braids should I get?
Medium box braids, from roughly 1-inch parts, are the usual middle ground. Small braids take longer and need more hair; large and jumbo braids are quicker and put less load on each section, as long as the added hair is not too heavy.
How many packs of hair do I need for box braids?
For mid-back length, Curl Centric estimates about 5 single bundles for jumbo, 6 for large, 7 for medium and 9 for small box braids. Check the gram weight on your pack and buy one or two extra.
Should box braids hurt?
No. The American Academy of Dermatology says a style that feels painful is too tight, and lists stinging, crusts on the scalp and tenting (the scalp pulled up like a tent) as signs to change the style right away.
Can I wash box braids?
Yes. Focus the shampoo on your scalp, rinse well and dry the braids completely so they do not stay damp inside.
Sources
- L'Oréal Paris — How to do your own box braids
- Tricoci University — The art and business of African hair braiding
- StyleSeat — Knotless vs. box braids
- Curl Centric — How many packs of braiding hair do I need?
- Open Exam Prep — Twisting, wrapping, weaving, extending, locking and braiding (NY cosmetology study guide)
- Open Exam Prep — Natural hair braiding (OK cosmetology study guide)
- KANEKALON (Kaneka) — Modacrylic fiber
- American Academy of Dermatology — Hairstyles that pull can cause hair loss
Read next
Knotless braids: how to do them, sizes and how long they last
How the feed-in start works, how it differs from a box braid, the sizes and hair counts, and how long to keep them in.
Braiding hair guide: Kanekalon, pre-stretched, human hair, curly and Marley
What each kind of braiding hair is made of, how the color numbers work, how many packs a style takes and what the hot-water and vinegar steps actually do.
Crochet braids: how to install crochet hair on a cornrow base
A flat cornrow base, a latch hook and a few packs of crochet hair: the install, step by step, plus how long it lasts and how to take it out.