Buying guide
Wig making supplies: what you need for sewing, customizing and ventilating wigs
What each tool does, the types to choose between, and what to check before you buy, from block head to ventilating needle.
Published
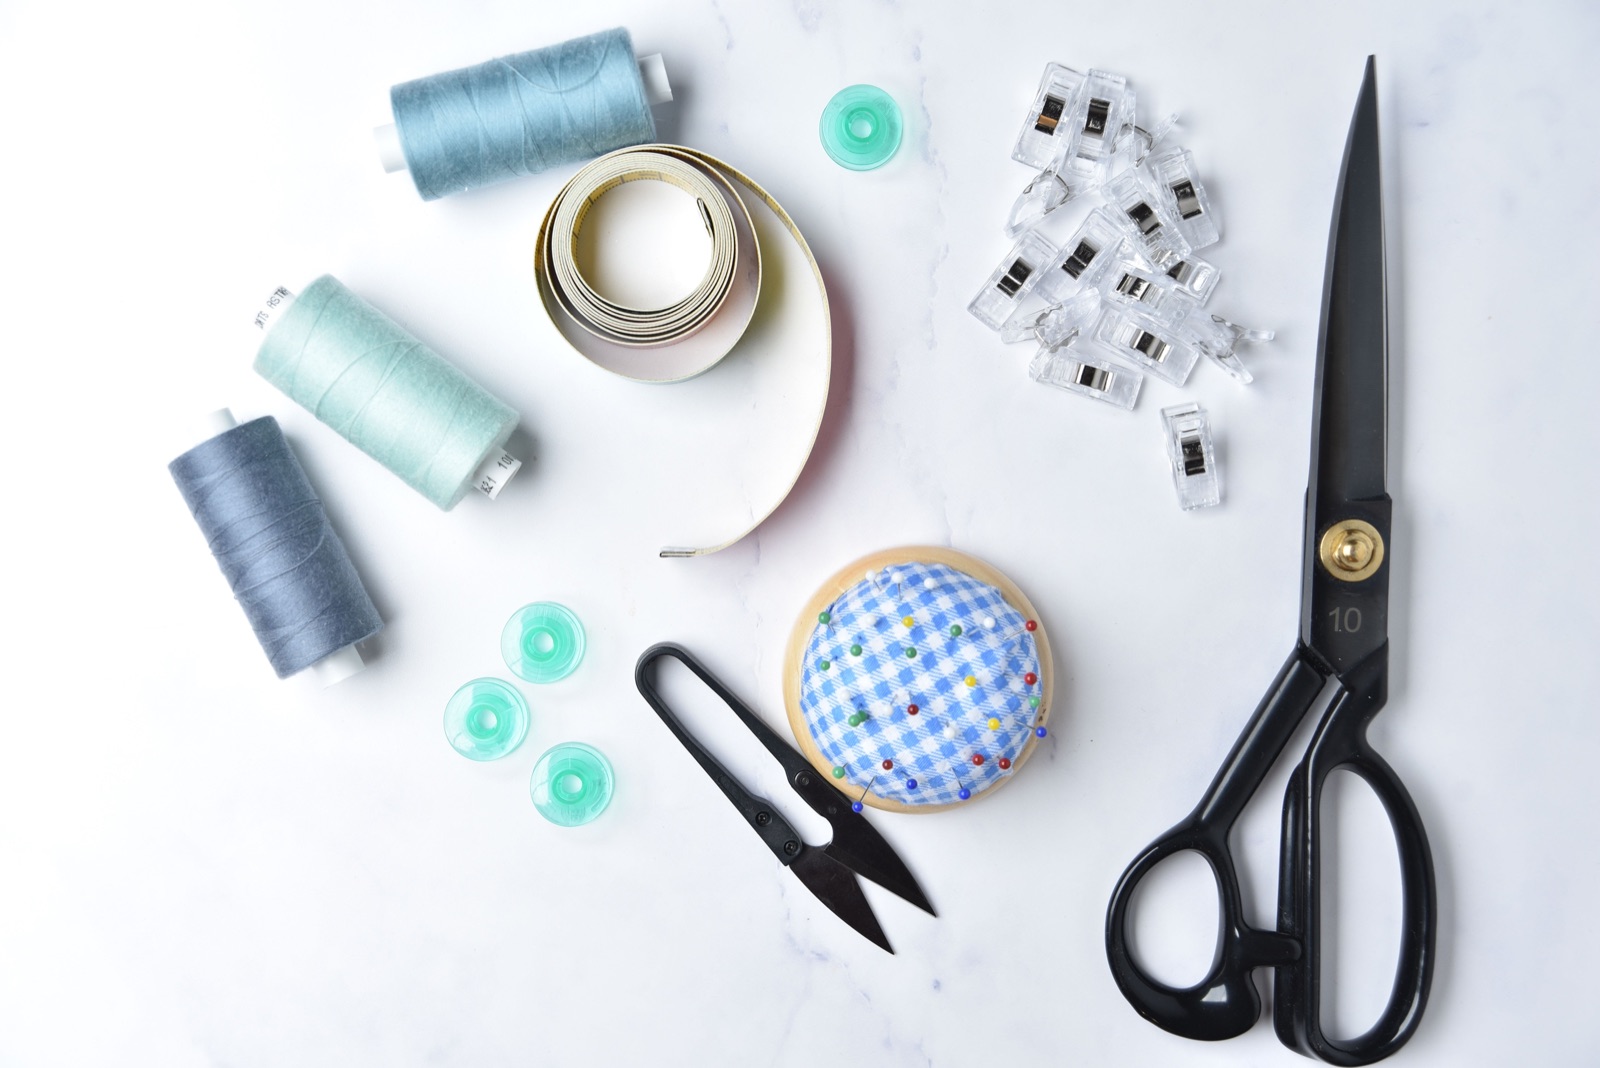
Wig making supplies fall into four groups: something to hold the wig at head shape, the base the hair goes onto, the tools that attach the hair, and the tools that customize the lace. You do not need all of them at once. This guide explains what each one does, the types you will see, what to check before you buy, and which set suits a first sewn wig versus customizing or ventilating.
What wig making supplies do
Making a wig is mostly about control. The block head and stand keep the cap still and at the right size. Pins hold every piece exactly where it goes. The needle and thread, or a sewing machine, attach the hair. Customizing tools change how the lace and hairline look once the unit is built. Get the holding tools right first; they make every other step easier.
The main types at a glance
| Group | Supplies | Needed for | Notes |
|---|---|---|---|
| Holding | Canvas block head, tripod or table clamp, T-pins | Every wig | Block size should match the head the wig is for |
| Base | Dome caps (spandex or mesh), lace, closures and frontals | Every wig | Spandex and mesh caps both work for sewn units |
| Attaching by hand | C-curve needles, nylon weaving thread, marker, scissors, measuring tape | Sewn wigs | The minimum kit for a first unit |
| Attaching by machine | Sewing machine with zigzag and reverse stitch, bobbins | Faster sewn wigs | Optional; learn hand sewing first |
| Ventilating | Ventilating needles (N type for lace), brass holder | Hand-tied lace and closures | Sizes from 1-2 to 5-6 |
| Customizing | Slant-tip tweezers, rat-tail comb, clips, powder lightener, developer, non-metal bowl, tint brush, gloves | Plucking and bleaching knots | Lightener is for human hair only |
Holding tools
Canvas block head
A canvas block head is a head-shaped form you can pin into. It holds the cap at the right size and shape while you sew. The single most important thing to check is the size: buy a block with the same circumference as the head the wig is for. Private Label Extensions gives the example of a 23-inch head for a 23-inch circumference.
To get that number, Wigs.com measures from the center of the front hairline, past the top of the ear, around the nape, past the other ear and back to the start, and suggests measuring twice. If you make wigs for other people, you will eventually want more than one size.
What else to check
- Fill. Block heads are sold with different fillings. Read the listing to see what is inside, and whether the maker says the head can get wet if you plan to wash or style wigs on it.
- Mounting hole. Many blocks have a hole in the base that fits a tripod or clamp. Make sure the head and stand you buy fit together.
Tripod or table clamp
Private Label Extensions calls for a sturdy tripod. A tripod stands on the floor and lets you work standing or sitting at any height; a table clamp is smaller and cheaper but needs a sturdy table edge. Either way, the head must not wobble while you push a needle into it.
T-pins
T-pins hold the cap to the block, pin the closure flat and keep each weft on its line. The T-shaped top is easy to grip and pull out. Buy plenty; a single wig uses a lot of them.

The base
Dome caps
Dome caps are the base for a sewn wig. Private Label Extensions uses a spandex dome cap; Hermosa Hair says a mesh cap works too, and suggests buying two good-quality caps so you have a spare. Choose a cap that fits snugly on your block head, without wrinkles.
Lace, closures and frontals
A closure or frontal gives the wig its part and hairline. If you plan to ventilate your own, you will also need loose lace. Luvme Hair lists Swiss, HD and French lace as the common types.
Tools for sewing
Needles
A C-curve needle is the standard for hand-sewing wefts onto a cap on a round head. Hermosa Hair recommends it for beginners. Curved needles come in several lengths; a pack with a few sizes lets you find the one that suits your hand.
Thread
Private Label Extensions uses nylon thread because it does not swell like cotton. Buy it in colors close to the hair you work with, usually black and dark brown to start, so stitches do not show.

Marker, measuring tape and scissors
A metallic marker or chalk marks the track lines on the cap, a soft measuring tape takes the head measurements and spaces the rows, and a sharp pair of scissors cuts wefts and trims caps. Small thread snips are handy for trimming knots.
Sewing machine
A machine is optional. If you buy one for wig making, The Creative Folk calls zigzag and reverse stitch "absolutely necessary": zigzag joins doubled wefts and sews them to the cap, and reverse locks the end of each track. It also recommends a large working area around the needle, a light over the needle for sewing dark thread into dark hair, and an automatic bobbin winder.
Ventilating supplies
A wig ventilating kit is usually a set of needles plus a holder. Naija Naturals explains the labels:
- Sizes run from about 1-2 to 5-6. The number is how many hairs the needle picks up.
- N needles are for net and lace bases; S needles are for skin and PU bases. For lace wigs, buy N.
- German needles are about 1 to 1.5 inches long; Asian (Korean) needles about 1 inch.
- Holders: professionals usually prefer brass; plastic or wooden handles are cheaper and generally lower quality.
Add a canvas block, T-pins and loose hair, and you have the basics. The full method is in our ventilating guide.
Customizing supplies
For plucking
Slant-tip or pointed tweezers, a rat-tail comb, clips and a spray bottle are the core. Cosmopolitan's plucking guide lists a stand, pins, a rattail comb and tweezers. See plucking a wig.
For bleaching knots
You need salon powder lightener, a cream developer, a non-metal bowl and a tint brush, gloves and foil. Cosmetology training material says lightener should be mixed and applied with plastic, glass or ceramic bowls and non-metal brushes, with gloves, in a well-ventilated area. The full process is in bleaching knots.
Kit or separate pieces?
A wig making kit for beginners often bundles needles, thread, T-pins, caps and sometimes a block head. That can save time, but check the parts that matter most:
- Block head size. A kit with the wrong size head is not a bargain.
- Needle shape. Make sure curved needles are included.
- Thread. Look for nylon weaving thread in a usable color.
- Clamp or stand. Make sure it fits the block's mounting hole.
Buying the block head and stand separately and the small items as a kit is a common middle path.
Which setup suits whom
First sewn wig at home
Block head in your size, tripod or clamp, two dome caps, T-pins, C-curve needles, nylon thread, marker, scissors and measuring tape. That is enough for how to make a wig.
Stylist making units for clients
Add block heads in more than one size, a sturdier tripod, and a sewing machine with zigzag and reverse stitch. See how to sew a wig for the machine method.
Customizing ready-made wigs
Tweezers, comb and clips for plucking; lightener, developer, non-metal bowl, brush and gloves for bleaching knots. No sewing tools needed.
Learning to ventilate
A ventilating kit with N needles in a few sizes and a brass holder, lace, a block head and loose hair.
Care for your supplies
Keep needles in a case or pincushion so the curves do not bend. Wipe tint bowls and brushes clean after each use and keep them for lightener only. Store lightener and developer tightly closed and out of reach of children, and follow the storage directions on each label. Let a block head dry fully if it gets damp before you pin into it again. More equipment reviews are in the tools section.
Questions
What supplies do I need to make a wig?
For a first sewn closure wig you need a block head that matches your head size, a tripod or clamp, a dome cap, T-pins, a C-curve needle, nylon weaving thread, a marker, scissors, a measuring tape, hair bundles and a closure. Customizing adds tweezers and a lightener kit; ventilating adds needles and a holder.
Is a wig making kit worth it for beginners?
A kit can be a quick way to get the small items, such as needles, thread, pins and caps, in one order. Check what is actually included, because the block head size, cap type and needle shape matter more than the number of pieces.
What size block head should I buy for wig making?
Buy a block head with the same circumference as the head the wig is for. Measure from the center of the front hairline, around the back along the nape and back to the start, and match that number.
Do I need a sewing machine to make wigs?
No. A wig can be made entirely by hand with a C-curve needle. A machine speeds up the weft rows; if you buy one, look for zigzag and reverse stitch.
Sources
- Private Label Extensions — How to make a closure wig with a 5x5 closure and bundles
- Hermosa Hair — How to make a wig, step by step
- Wigs.com — How to measure your head for a wig
- The Creative Folk — Best sewing machines for making wigs
- Naija Naturals — All you need to know about ventilating needles
- Luvme Hair — What is ventilating the wig: terms you should know
- Open Exam Prep, Michigan cosmetology — Lightening products and safe use
- Cosmopolitan (via Yahoo) — How to pluck a wig
Read next
How to make a wig: a first closure wig from cap to finished unit
Measure, set up the cap, sew the closure and the wefts, then finish the unit, with the tools for each step.
Canvas wig head: how to choose a canvas block head for wig making
Size, fill, neck length and mounting: what separates a canvas block head you can sew on from one that only holds a wig.
Hair sewing needle and thread: C, J, L and straight needles, cotton vs nylon thread
Which needle shape fits which job, why most stylists sew with bonded synthetic thread, and how to match thread to the hair.