Guide
Plucking a wig: how to thin a lace hairline and part so they look natural
Pin the wig, work in thin layers from ear to ear, thin the part, and stop before it goes too far.
Published
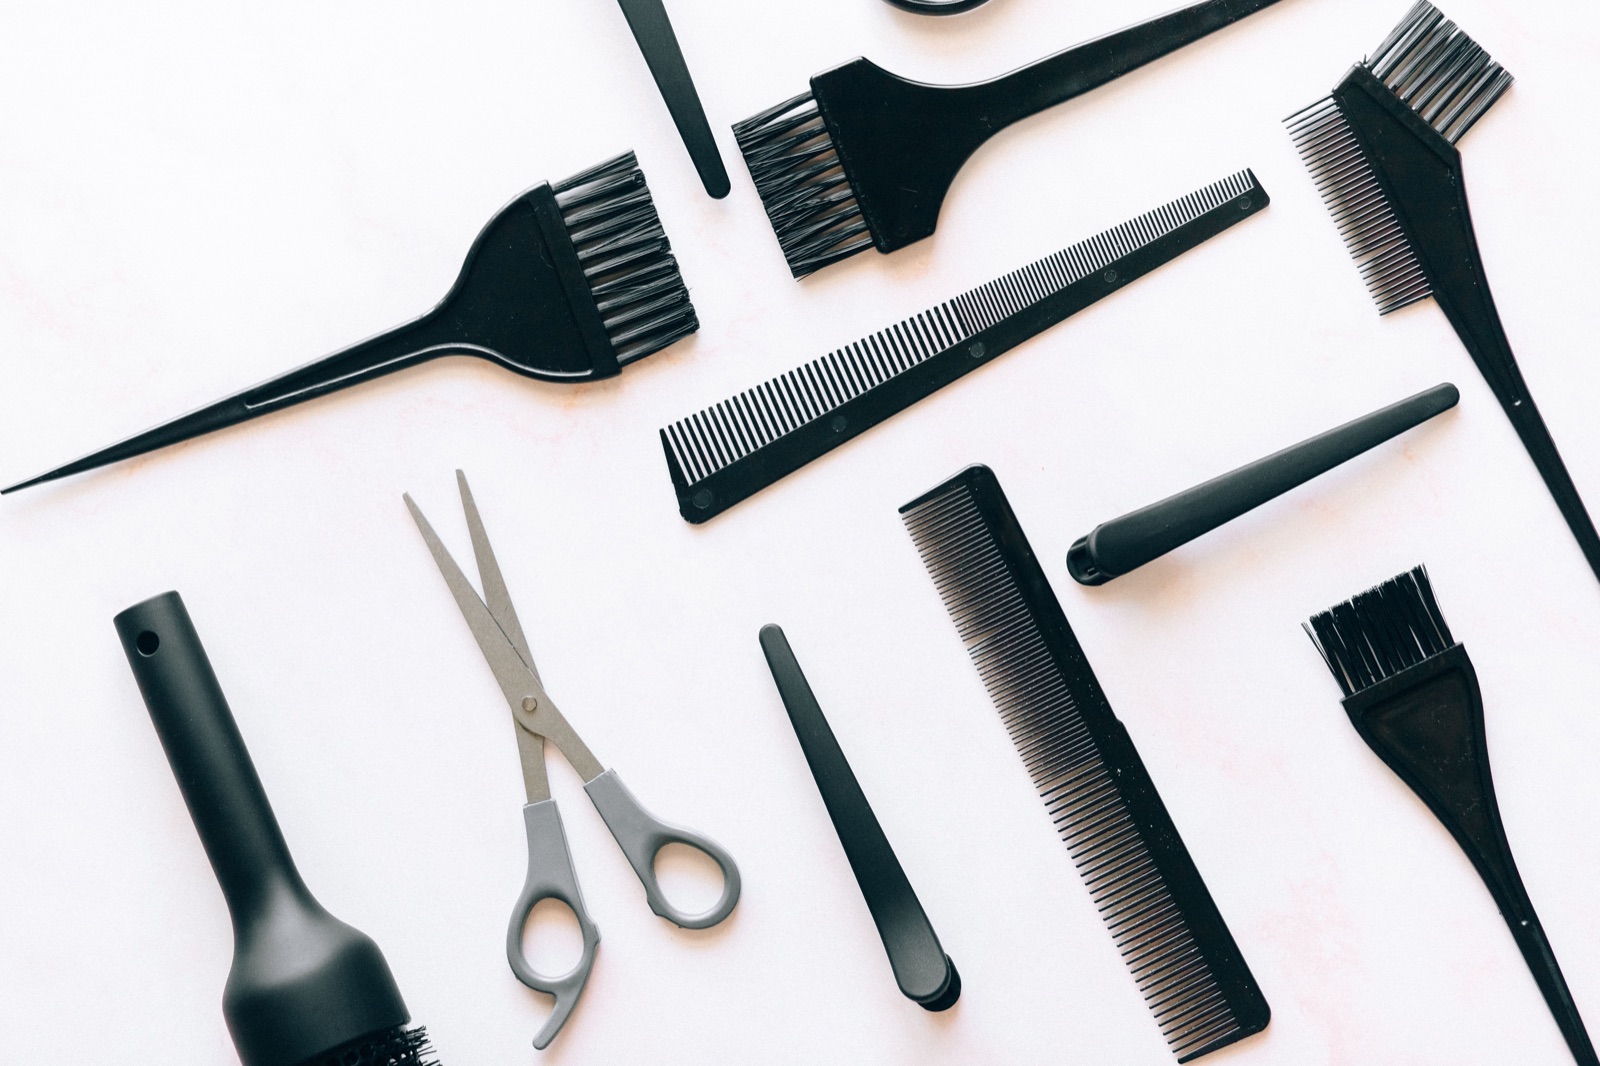
Plucking a wig is how a lace front, frontal or closure goes from a thick, ruler-straight edge to a hairline that looks like it grows from the scalp. You take a few hairs out at a time with tweezers, in thin layers, so the very front is sparse and the density builds gradually behind it. By the end of this guide you will have a softer hairline and a part that does not look like a solid line of hair.
What you'll need
Essentials
-
Slant-tip or pointed tweezers
: grip one or two hairs at a time close to the lace. -
Mannequin head or wig stand with T-pins
: keeps the wig from sliding while you work at the hairline. -
Rat-tail or fine-tooth comb
: parts off thin layers and combs out the plucked hair. -
Clips
: hold back the hair you are not working on. -
Spray bottle with water
: damp hair is easier to control.
Optional
-
Mousse or light styling gel
: sets the hairline flat once you finish. -
Small scissors
: trim excess lace before you start, well away from the hair.
Why plucking a wig matters
An unplucked lace hairline, where the hair is ventilated into the lace, tends to look as uniform and dense as the hair behind it. A natural hairline is different: finer, uneven, with hairs at different lengths because new hair is always growing in. Plucking thins the front so the wig avoids what Cosmopolitan's guide calls the "helmet head effect."
Pre-plucked wigs
Many wigs are sold pre-plucked, meaning the hairline and often the part were thinned before sale. They can be worn straight from the box. Unplucked units look more uniform until you pluck them. Even with a pre-plucked unit, you may still want to thin a little more so the hairline suits your face.
Closure, frontal or full lace
How much you pluck depends on the unit:
- Closure: the lace covers only a small area at the front, so most of the work is on the part and the short stretch of hairline at the very front.
- Lace front or frontal: the lace runs from ear to ear, so you pluck the whole front hairline in layers and thin the part as well.
- Full lace: the whole perimeter is lace. Most wearers focus on the front hairline and part, and thin the edges at the temples and nape only lightly.
Pre-plucked, pre-cut and glueless
Listings often combine terms. Pre-plucked refers to the hair, as above. Pre-cut lace usually means the seller has already trimmed the lace along the hairline, so you do not have to cut it yourself. A glueless wig is built to be worn without adhesive, usually with a band or combs. A pre-plucked glueless wig is simply a unit that is both; it still has a hairline you can thin further if it looks too full on you.
Choosing your tweezers
Indique Hair suggests tweezers with a pointed or slanted tip, and UNice a fine-tipped pair. A slant tip lies flat against the lace and grips one or two hairs close to the knot; a pointed tip is better for picking out single strands along the part. Whichever you choose, the tips should meet evenly and grip firmly without cutting the hair. Avoid tweezers with a gap at the tip, which slip and tempt you to squeeze harder, and that is when lace gets pinched.
Before you start
Bleach first if you plan to
If you are going to lighten the knots, a common order is to do it before plucking. UNice's guide puts bleaching ahead of plucking. See bleaching knots for that step.
Set up the wig
- Put the wig on a mannequin head or stand and pin it so it cannot slide while you work at the hairline. Pin through the cap, not the lace, so you do not tear it.
- If the lace is long, trim the excess now, staying well away from the hair.
- Comb the front hair smooth so there are no knots or tangles.
- Mist the hairline lightly with water. Indique Hair notes that damp hair is easier to pluck and puts less strain on the lace.

Step 1: The first pass along the hairline
With your less-dominant hand, hold the front hair back, away from the face. With the tweezers in your dominant hand:
- Grip one or two hairs close to the lace.
- Pluck straight back, away from the face, with quick strokes, in the direction the hair grows.
- Take roughly every other strand rather than clearing one spot, as Cosmopolitan's guide advises, so no bald patch appears.
- Start at one temple and work across the hairline to the other, as Indique Hair describes.
Grab hair, not lace. Pinching the lace in the tweezers can rip it, and a tear at the hairline is very hard to hide.
Step 2: Pluck in layers
One pass only thins the outermost hairs. To build a gradient:
- Comb out the hair you have plucked so far.
- From ear to ear, part off a thin section just behind the hairline and flip it forward over the mannequin's face. Clip the rest back.
- Pluck that layer the same way: a few strands at a time, spread out, following the hair's direction.
- Repeat with the next thin section behind it.
Cosmopolitan's guide repeats this three to four more times depending on how thin you want the hairline; UNice works through about four rows. Each layer back should lose fewer hairs than the one before, so density increases toward the crown.
Keep the line uneven
A natural hairline is not straight. Indique Hair suggests aiming for a slightly irregular line rather than a smooth curve. Let the edge wander a little at the temples and the center rather than following a perfect arc.
Step 3: Thin the part
On a closure or frontal, the part can look like a solid seam of hair. Pluck a few hairs along each side of the part, in short stretches, so the line looks less dense and a little of the lace shows through as scalp. Take less than you think you need here; the part is the first place people look.
Step 4: Check, set and try on
Check as you go
Step back every few minutes and look at the hairline from a normal distance, in good light. Indique Hair recommends checking in a mirror often. If the hair is damp, let it dry before deciding whether to take more, because dry hair shows the true density.
Set the hairline
When you are happy, brush out all the loose hair. Indique Hair suggests a little mousse or light gel at the hairline to hold it in place while it dries. Then try the wig on, brush it and look at it on your head. If it still looks too full, go back for another light pass.
Common mistakes
- Over-plucking. You cannot put hair back. In Cosmopolitan's guide, stylist Brittany Johnson recommends taking your time for exactly this reason.
- Plucking one spot. Taking several hairs next to each other leaves a bald patch; spread the plucks out.
- Tweezing the lace. It tears; grip only the hair.
- Plucking only the very front. Thinning just the outer row leaves a dense band behind it. Work in layers.
- Cutting the lace too close. Trim the lace well away from the hair before you start.
- Rushing. Good light and patience matter more than speed.
After plucking
Handle the thinned front gently when washing and detangling, since there is less hair there to spare. For daily handling, washing and storage, see the wig care section. The rest of the customizing techniques, including how hair gets into the lace in the first place, are in the wig making section.
Questions
What does plucking a wig mean?
Plucking a wig means removing some hairs from the lace hairline and part with tweezers so the density there is lower and less even, the way a natural hairline is. It takes away the thick, straight-edged look that unplucked lace units often have.
What is a pre-plucked wig?
A pre-plucked wig has had its hairline and often its part thinned before it is sold. It can be worn as is, though many wearers still pluck a little more to match their own hairline.
Should I pluck my wig wet or dry?
Either works. Damp hair is easier to control, while dry hair shows the true density, so many people pluck damp and check the result dry.
Can you pluck a synthetic wig?
Yes, a synthetic lace wig can be plucked at the hairline and part the same way as a human hair wig. Take a few hairs at a time and check often, because plucked hair cannot be put back.
Sources
- Cosmopolitan (via Yahoo) — How to pluck a wig, with stylist Brittany Johnson
- Indique Hair — How to pluck your lace front wigs
- UNice — How to pluck a wig
Read next
Bleaching knots on a wig: lighten lace knots without lifting the roots
Mix, apply to the underside of the lace, watch the clock and rinse, with the safety steps the lightener makers ask for.
How to put on a lace front wig: prep, cut, secure and melt
A beginner's install from wig cap to melted hairline, with the glue, tape and glueless options side by side and a safe way to take it off.
Closure wig vs frontal wig: sizes, parting, install and upkeep compared
A closure gives you a small patch of lace and an easy install; a frontal gives you lace ear to ear and more ways to part and pull the hair back.