Guide
Ventilating a wig: how to use a ventilating needle to hand-tie hair into lace
Choose the needle, stretch the lace, tie the knots and set the density, one hole at a time.
Published
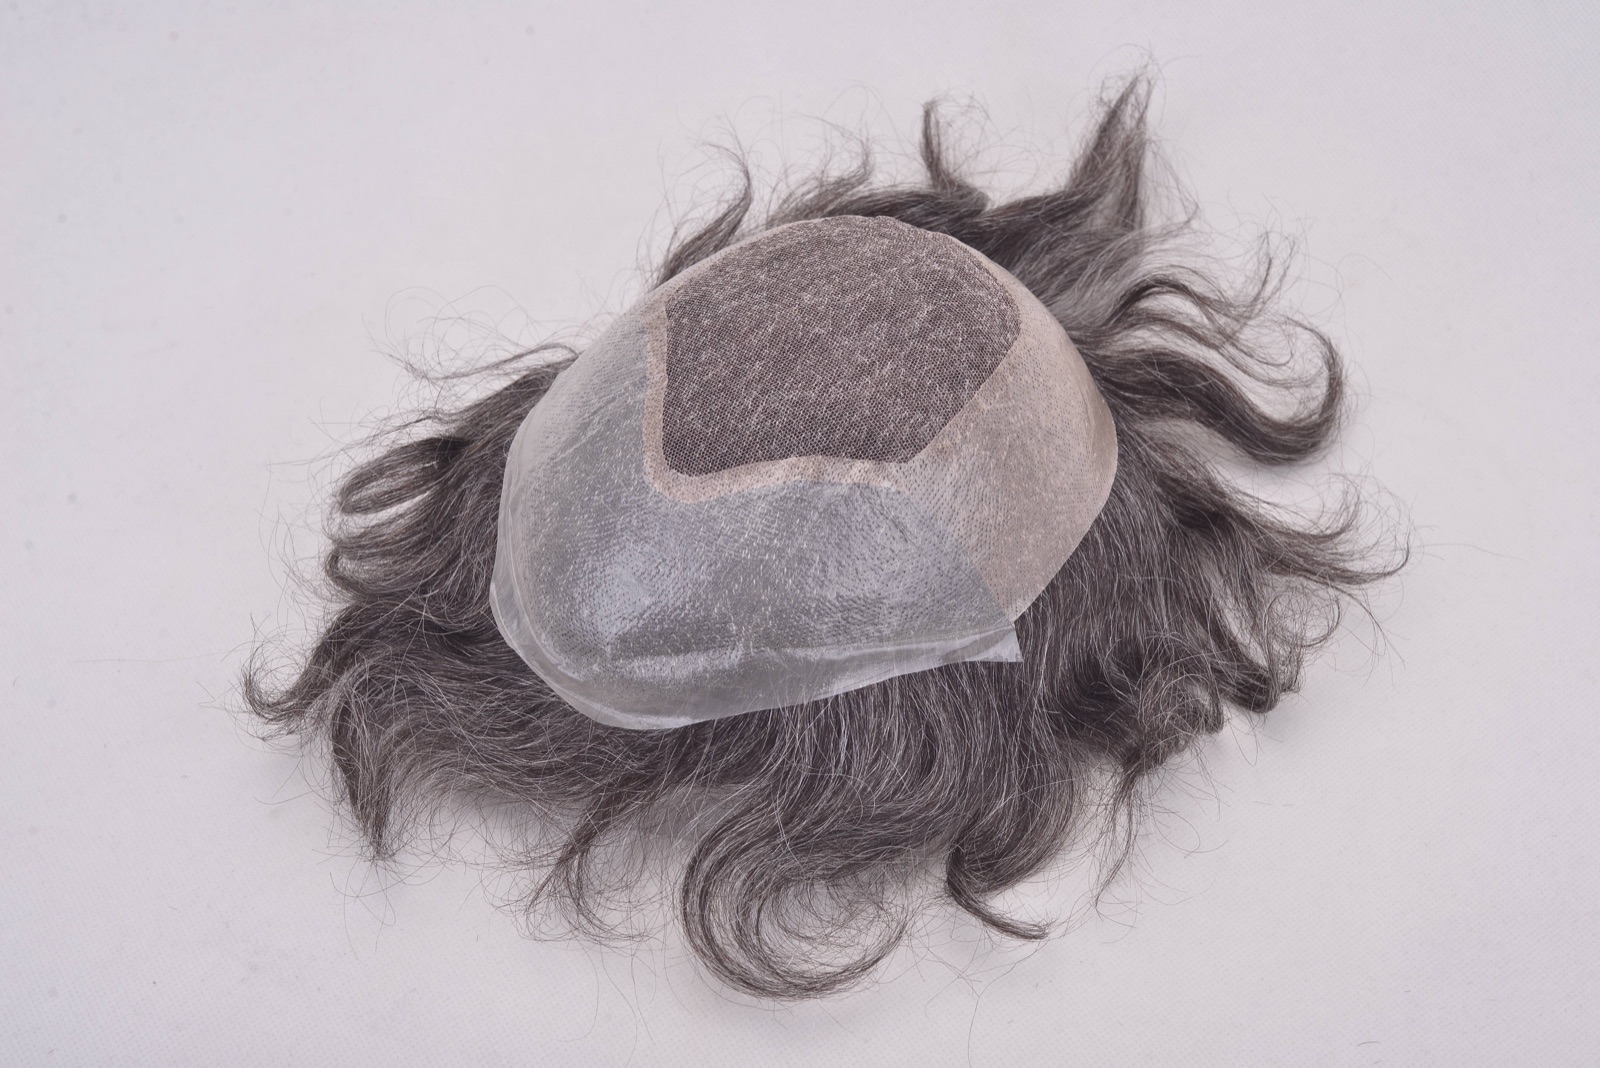
Ventilating is hand-tying hair into a lace or mesh base with a ventilating needle, a few strands at a time. It is how closures, frontals and full lace wigs get a hairline and part that look like hair growing from the scalp. This guide explains how to choose a ventilating needle and holder, set up the lace, tie the knots, and control density so a hairline looks natural. Expect it to be slow: The Lauren Ashtyn Collection notes that a single wig can take hours, sometimes days.
What you'll need
Essentials
-
Ventilating needles in two or three sizes
: a fine size for the hairline and a larger one for the body of the base. -
Ventilating needle holder
: the needle cannot be used on its own; it screws into a holder. -
Lace (Swiss, French or HD) or a lace cap
: the base you tie hair into. -
Canvas block head on a clamp or stand, T-pins
: holds the lace taut at head shape. -
Loose human or synthetic hair
: the hair you tie, matched to the wig you are making. -
Good light
: you need to see each hole in the lace.
Optional
-
Dark cloth or dark block behind the lace
: makes the holes in light lace easier to see. -
Tweezers
: to thin a finished hairline.
What a ventilated wig is
On a wefted wig, hair is machine-stitched onto strips and those strips are sewn onto a cap. On a ventilated wig, each knot is tied by hand directly into the base. Because there is no track, the hair can be parted or brushed in any direction, and at the hairline the knots can be tiny and spaced irregularly the way real hair grows.
Most units mix the two: a ventilated lace closure or frontal at the front, and sewn wefts behind it. If you have made a closure wig, you have already worked with ventilated lace; this is how to make it yourself.
Choosing a ventilating needle
Sizes
A ventilating needle is a tiny hook; The Lauren Ashtyn Collection compares it to a tiny crochet hook. Sizes run from about 1-2 to 5-6, and the number tells you how many hairs the hook picks up at once: a 1-2 needle catches one or two strands. Luvme Hair recommends a smaller needle near the hairline for a natural look. One way to start is a 1-2 for the hairline and part plus a slightly larger size, such as a 2-3, for the area behind it.

N and S needles
Naija Naturals explains that needles are also labeled by base type:
| Label | Made for | Example |
|---|---|---|
| N | Net and lace bases: Swiss lace, mesh | N1-2: one or two hairs into lace |
| S | Skin and polyurethane (PU) bases | S1-2: one or two hairs into skin |
For lace wigs and closures, buy N needles.
German and Asian needles
According to Naija Naturals, German needles are about 1 to 1.5 inches long and suit the French method and double knots. Asian (Korean) needles are about 1 inch long and are used for single, double and split knots, and for adding baby hair to lace wigs. Try one of each if you can, and stay with the one that feels steadier in your hand.
The holder
The needle does not work on its own; it fits into a holder. Naija Naturals says professionals usually prefer brass holders, and that holders with plastic or wooden handles are cheaper and generally lower quality.
Set up the lace
- Mount a canvas block head on a clamp or stand so it cannot move.
- Stretch the lace over the block and pin it with T-pins. It should be firm, but not pulled so hard that the holes distort.
- Work in good light. The Lauren Ashtyn Collection suggests a darker backdrop behind light lace so the holes are easier to see.
- Keep a small amount of hair in your non-dominant hand, roots all facing the same way, so you can feed the needle a few strands at a time.
How to tie the knots
The basic motion
Every knot follows the same idea: the needle goes into a hole, catches a few strands, and draws them back through to form a knot.
- Fold a few strands of hair near the root end so you have a small loop.
- Hook the folded hair with the needle.
- Push the needle through a hole in the lace and pull it back, bringing the loop of hair through with it.
- With the hair's loop still on the hook, catch the short ends of the strands and pull them through the loop.
- Pull gently to tighten the knot against the lace.
- Move to the next hole and repeat.
Luvme Hair and The Lauren Ashtyn Collection both describe the process this way: a hole, a few strands caught, drawn back and secured with a knot, row by row. Learning the hand motion is easiest from a video or an in-person class; the written steps make sense once you have watched it a few times.
Single, double and split knots
Luvme Hair sums up the three common knots:
- Single knot: easier and faster, but less secure.
- Double knot: more secure, but slightly more visible.
- Split knot: used for a more natural look.
A common way to use them is single knots at the hairline, where a small knot matters most, and double knots behind it, where strength matters more.
The online course outline from Wig Making Classes Online teaches single and double flat knots as separate lessons, which is a sensible order to learn them in.
Build density and a natural hairline
Strands per knot and spacing
Density comes from two things: how many strands each knot holds, and how close together the knots are. The Lauren Ashtyn Collection puts it simply: more strands per knot, closer together, for fullness; fewer strands, spaced farther apart, for a natural look.
At the hairline
Use your finest needle and single-strand knots at the very edge. Luvme Hair advises fewer strands at the hairline and more toward the back, with irregular spacing and thinner density at the front. Follow the direction real hair grows on the head as you tie. Afterward, you can soften the edge further with tweezers, as in plucking a wig.
The part
The part works like a second hairline. Tie fine knots along it with fewer strands per knot so the lace between them reads as scalp.
Practice plan
- Start with a small piece of lace pinned to the block, not a whole wig.
- Tie rows of single knots until the motion is automatic, then add double knots.
- Practice a short section of hairline with a 1-2 needle, varying the spacing.
- Only then move on to a closure-sized piece.
Common mistakes
- Lace pulled too tight or too loose. Distorted holes make uneven rows.
- Too many strands at the hairline. Thick knots and dense edges look like a wig.
- Tearing holes. Forcing a large needle through fine lace can tear it; match the needle to the lace.
- Tight, straight rows at the front. A hairline needs irregular spacing.
- Working in poor light. You will miss holes and double up others.
After ventilating
Dark knots show as small dots on the lace. Many makers lighten them, which is covered in bleaching knots. For the needles, holders and blocks to start with, see wig making supplies, and the tools section for more on the equipment.
Questions
What size ventilating needle should I use?
Ventilating needle sizes are named for how many hairs they pick up, from about 1-2 up to 5-6. Use the smallest size, such as a 1-2, at the hairline and part, and a larger size where you need density behind them.
What is the difference between N and S ventilating needles?
N needles are made for net bases such as Swiss lace and mesh, and S needles are made for skin or polyurethane bases. A needle is labeled with both, for example N1-2 for one or two hairs into lace.
What is a ventilated wig cap?
A ventilated cap is one where the hair has been hand-tied into lace or mesh strand by strand, rather than sewn on in wefts. It lets the hair move and part in any direction and looks like it grows from the scalp.
How long does it take to ventilate a wig?
Ventilating is slow because every knot is tied by hand. A full ventilated wig can take hours to days, so most beginners practice on a small piece of lace or a closure first.
Sources
- Naija Naturals — All you need to know about ventilating needles
- Luvme Hair — What is ventilating the wig: terms you should know
- The Lauren Ashtyn Collection — Hair ventilation: what it is and why you need it
- Wig Making Classes Online — Hair ventilation: single and double flat knots (course outline)
Read next
Wig making supplies: what you need for sewing, customizing and ventilating wigs
What each tool does, the types to choose between, and what to check before you buy, from block head to ventilating needle.
Plucking a wig: how to thin a lace hairline and part so they look natural
Pin the wig, work in thin layers from ear to ear, thin the part, and stop before it goes too far.
HD lace wigs vs transparent lace vs brown lace: what the labels really mean
Thinner lace blends more easily and tears more easily. Here is how the three common lace types trade off, and why the HD label varies by seller.