Guide
How to sew a wig: hand-sewing and machine-sewing wefts onto a cap
The stitches themselves: anchoring, locking and tying off by hand, and how a sewing machine changes the job.
Published
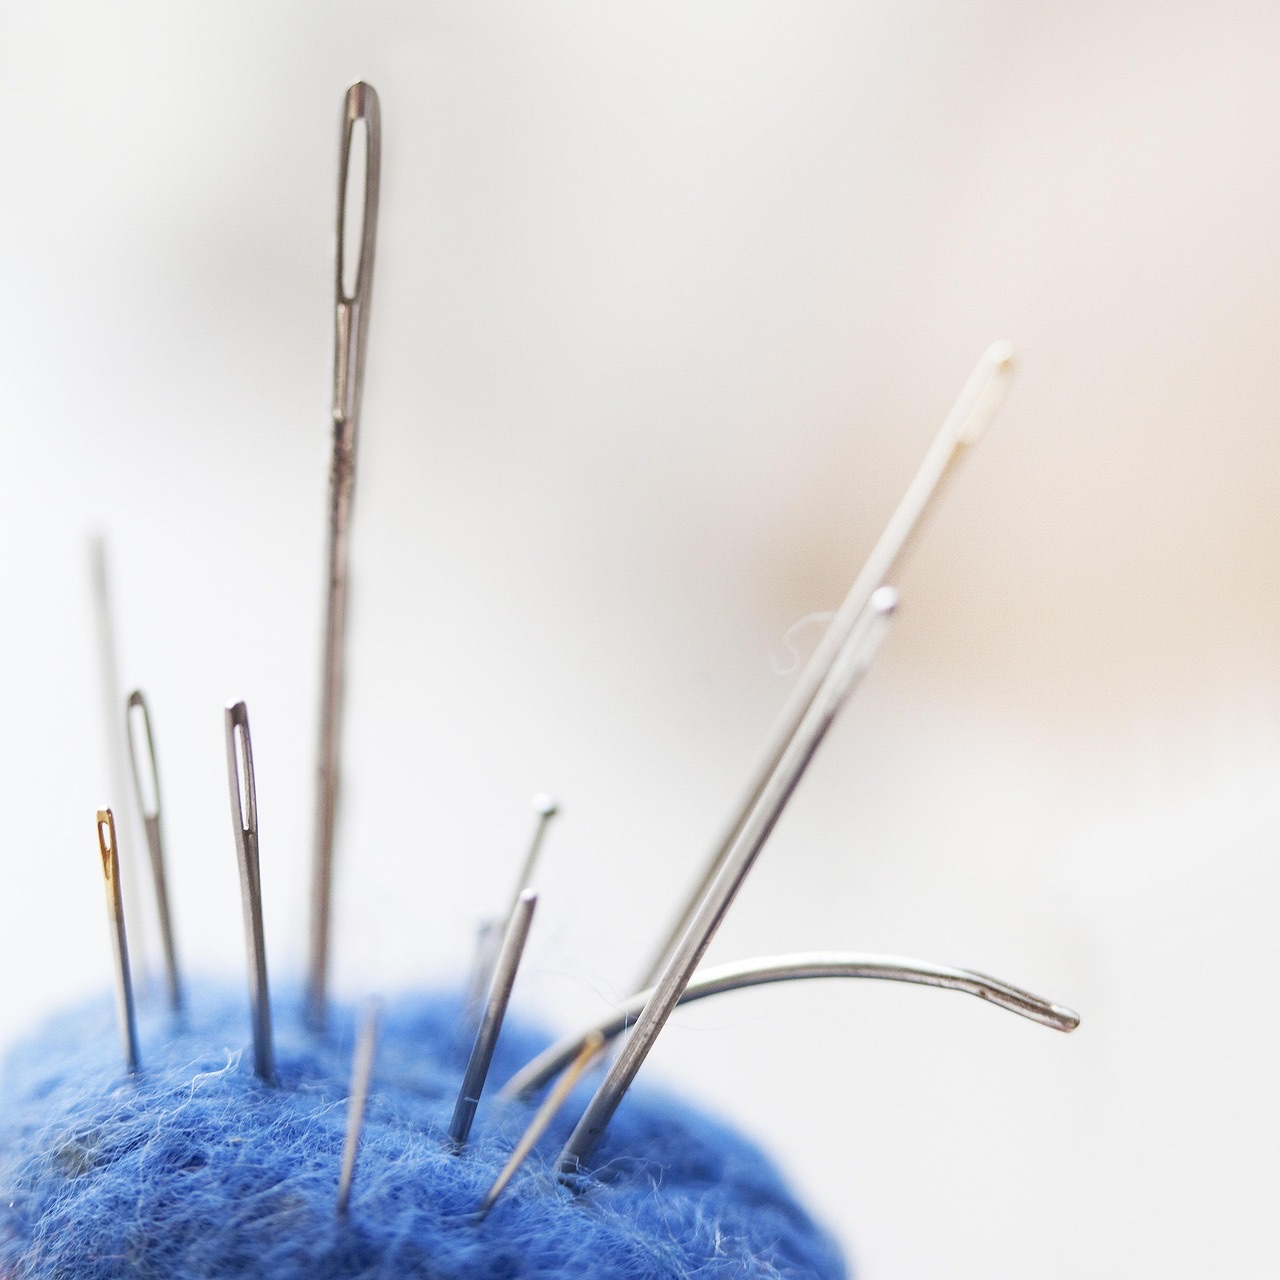
Knowing how to sew a wig comes down to a few stitches done the same way, row after row: an anchor at the start, a locked stitch along the track, and a knot that will not slip. This guide covers those stitches by hand with a curved needle, then how the same job works on a sewing machine. For the whole process, from measuring to the finished unit, start with how to make a wig; this page goes deeper on the sewing itself.
What you'll need
Essentials
-
C-curve needle
: the curve lets you enter and exit the cap in one motion while it sits on a round head. -
Nylon weaving thread in a color close to the hair
: strong, does not swell like cotton, and disappears against the wefts. -
Block head on a tripod or clamp
: holds the cap at head shape and keeps it from turning while you stitch. -
Dome cap, wefts and closure
: the base and the hair you are sewing onto it. -
T-pins, scissors, metallic marker
: to pin each weft, cut it and mark the rows.
Optional
-
Sewing machine with zigzag and reverse stitch
: for doubling wefts and sewing rows faster once you have the hang of it. -
Thread snips
: quicker than scissors for trimming at the end of each row.
Before you sew
Have the cap ready
The sewing starts once the cap is pinned to a block head and the closure is in place. Measuring, pinning the cap and placing the closure are covered in how to make a wig. Before you thread a needle, check that horizontal lines about 1 inch apart are marked from just above the elastic at the nape up to the closure, as Private Label Extensions and Hermosa Hair do. Every row of wefts follows one of these lines.
Choose the thread and needle
A C-curve needle is the standard for hand-sewing a wig because the curve lets you push in and out of the cap in one motion without lifting it off the head. Hermosa Hair recommends it for beginners. For thread, Private Label Extensions uses nylon because it does not swell like cotton. Pick a color close to the hair so stray stitches do not show.
Cut about an arm's length of thread, as OQ Hair suggests. Longer pieces tangle; shorter pieces mean more knots to start again. Hermosa Hair threads the needle with a doubled thread. Tie a knot at the end.

Hand or machine?
| By hand | By machine | |
|---|---|---|
| Equipment | C-curve needle, thread, block head | Sewing machine with zigzag and reverse stitch |
| Speed | Slower, row by row | Much faster once you are practiced |
| Control on a curved head | High; the cap stays on the block | Lower; the cap is fed flat under the needle |
| Best for | First wigs, closures, small repairs | Doubled wefts, stylists making several units |
Most people learn by hand first, then add a machine when they are making wigs regularly.
How to sew a wig by hand
The anchor stitch
Start every row and the closure with an anchor. Push the needle through the cap and the end of the weft, pull the thread until the knot catches, then sew the same spot a second time. Private Label Extensions calls this an anchor knot; it stops the end of the weft from lifting.
The locked stitch along the track
Work along the line in small, even stitches:
- Push the needle down through the cap mesh just below the weft track, and bring it up just above the track, so the thread wraps under and over the track rather than piercing the hair.
- Before you pull the stitch tight, pass the needle through the loop of thread that forms. Hermosa Hair describes passing the needle through the loop twice before each stitch.
- Pull firmly so the weft sits flat against the cap, but not so hard that the cap puckers.
- Move along about the width of a stitch and repeat.
Sewing under the track instead of through the weft gives a flatter result and, according to Private Label Extensions, helps the bundles last longer.
Tying off
Every few stitches, and at the end of each row, tie a knot that locks the thread. Private Label Extensions ties one every five stitches by looping the thread three times around the needle and pulling it through tight. At the end of a row, cut the thread and the weft and start the next row with a fresh anchor.
Keep the cap stretchy
Sew through the mesh only. If you must cross the elastic band, catch just one layer of it, not the whole band. A cap stitched through its band will not stretch over the head.
How to sew a closure on a wig
Sew the closure before any wefts, because the last row of wefts is placed to meet it.
- Position the closure about 1 inch in front of the cap's front edge, center it and pin the middle back.
- Stretch the sides out and pin them so the lace lies flat, with no lumps or air pockets.
- Tie the hair into a ponytail to keep it out of the needle's way.
- Starting at one side, sew along the edge of the closure with close stitches through the lace and cap, anchoring the first stitch and knotting every few stitches.
- Tie off at the other side.
When you reach the top of the wig, place the last weft directly against the closure, with no gap, and sew close to the closure edge.
How to sew a wig with a sewing machine
A sewing machine is much faster for long rows, but you need to be comfortable running one before you put a cap under the needle. The guidance below comes from The Creative Folk's guide to wig making machines; follow your machine's manual for its stitch widths and tension.
What the machine needs
The Creative Folk calls zigzag and reverse stitch "absolutely necessary" for making wigs. A large working area around the needle makes it easier to lay the cap out, and a light above the needle helps when you are sewing dark thread into dark hair. Wind extra bobbins before you start.
Double the wefts first
Lay two wefts on top of each other, tracks aligned, and sew them together with a zigzag stitch. This gives a fuller row and a single, sturdier track to attach.
Sew the doubled weft onto the cap
Lay the first doubled weft along the bottom line of the cap. Sew it on with a zigzag stitch, letting the machine feed the cap. Keep only a little tension on it. The Creative Folk warns that stretching a mesh cap while you feed it can ruin the stitching and leave uneven coverage.
Lock the end of each track
At the end of every track, use the reverse stitch for a few stitches. This locks the stitching so the threads do not come undone. Cut the thread and the weft, then move to the next line.
Closures and machine wigs
You can machine-sew the rows and still attach the closure by hand on the block head. Lace is delicate, and hand stitching lets you follow the curve of the head while the closure stays pinned flat.
Common mistakes
- Piercing the weft instead of sewing under the track. It loosens hair and makes the row sit up.
- Skipping the anchor. The end of the row lifts and the weft can slide.
- Knotting only at the ends. One broken stitch can unravel a whole row.
- Sewing through the elastic band. The cap no longer stretches to fit.
- Stretching the cap under a machine. Rows come out wavy and spacing goes uneven.
- Thread in a contrasting color. Any stitch that peeks through will show.
When the wig is sewn
Turn the cap inside out, trim the excess cap under the closure, and trim loose thread ends without cutting any stitches. From there you can customize the lace by plucking and bleaching the knots. If you are looking for installing a wig by sewing it down over braids, that belongs to the sew-ins section.
Questions
How do you sew a wig by hand?
Thread a C-curve needle with nylon thread, knot it and anchor the first stitch by sewing the same spot twice. Stitch through the cap mesh and under the weft track, locking each stitch by passing the needle through the loop, and tie a three-loop knot every few stitches and at the end of each row.
What stitch do you use on a sewing machine for wigs?
The Creative Folk's guide to wig making machines uses a zigzag stitch, both for sewing two wefts together and for sewing the doubled weft onto a mesh cap, with a reverse stitch at the end of each track to lock it. Check your own machine's manual for its settings.
How do you sew a closure on a wig?
Pin the closure about an inch in front of the cap's edge, stretch it flat, and sew along its edge with close stitches through the lace and cap before you add any wefts. Pass through only one layer of the cap band so it keeps its stretch.
Is sewing a wig the same as sewing a wig down?
No. Sewing a wig means building the unit by attaching hair to a cap; sewing a wig down means installing a finished wig by stitching it to braids on the head, which is a sew-in technique.
Sources
- Private Label Extensions — How to make a closure wig with a 5x5 closure and bundles
- Hermosa Hair — How to make a wig, step by step
- OQ Hair — How to make a wig for beginners
- UNice — How to make a wig
- The Creative Folk — Best sewing machines for making wigs
Read next
How to make a wig: a first closure wig from cap to finished unit
Measure, set up the cap, sew the closure and the wefts, then finish the unit, with the tools for each step.
Hair sewing needle and thread: C, J, L and straight needles, cotton vs nylon thread
Which needle shape fits which job, why most stylists sew with bonded synthetic thread, and how to match thread to the hair.
Wig stand tripod, table clamp or storage stand: how to choose
A tripod for working standing up, a clamp for a desk, a collapsible stand for drying and storage: what each one does and what to check.