Guide
How to make a yarn wig: sewn, glued, curly and brushed-out costume wigs
A craft guide to costume wigs from yarn: the cap, the part, sewing or gluing the bunches, and how to get curls or a soft brushed-out look.
Published
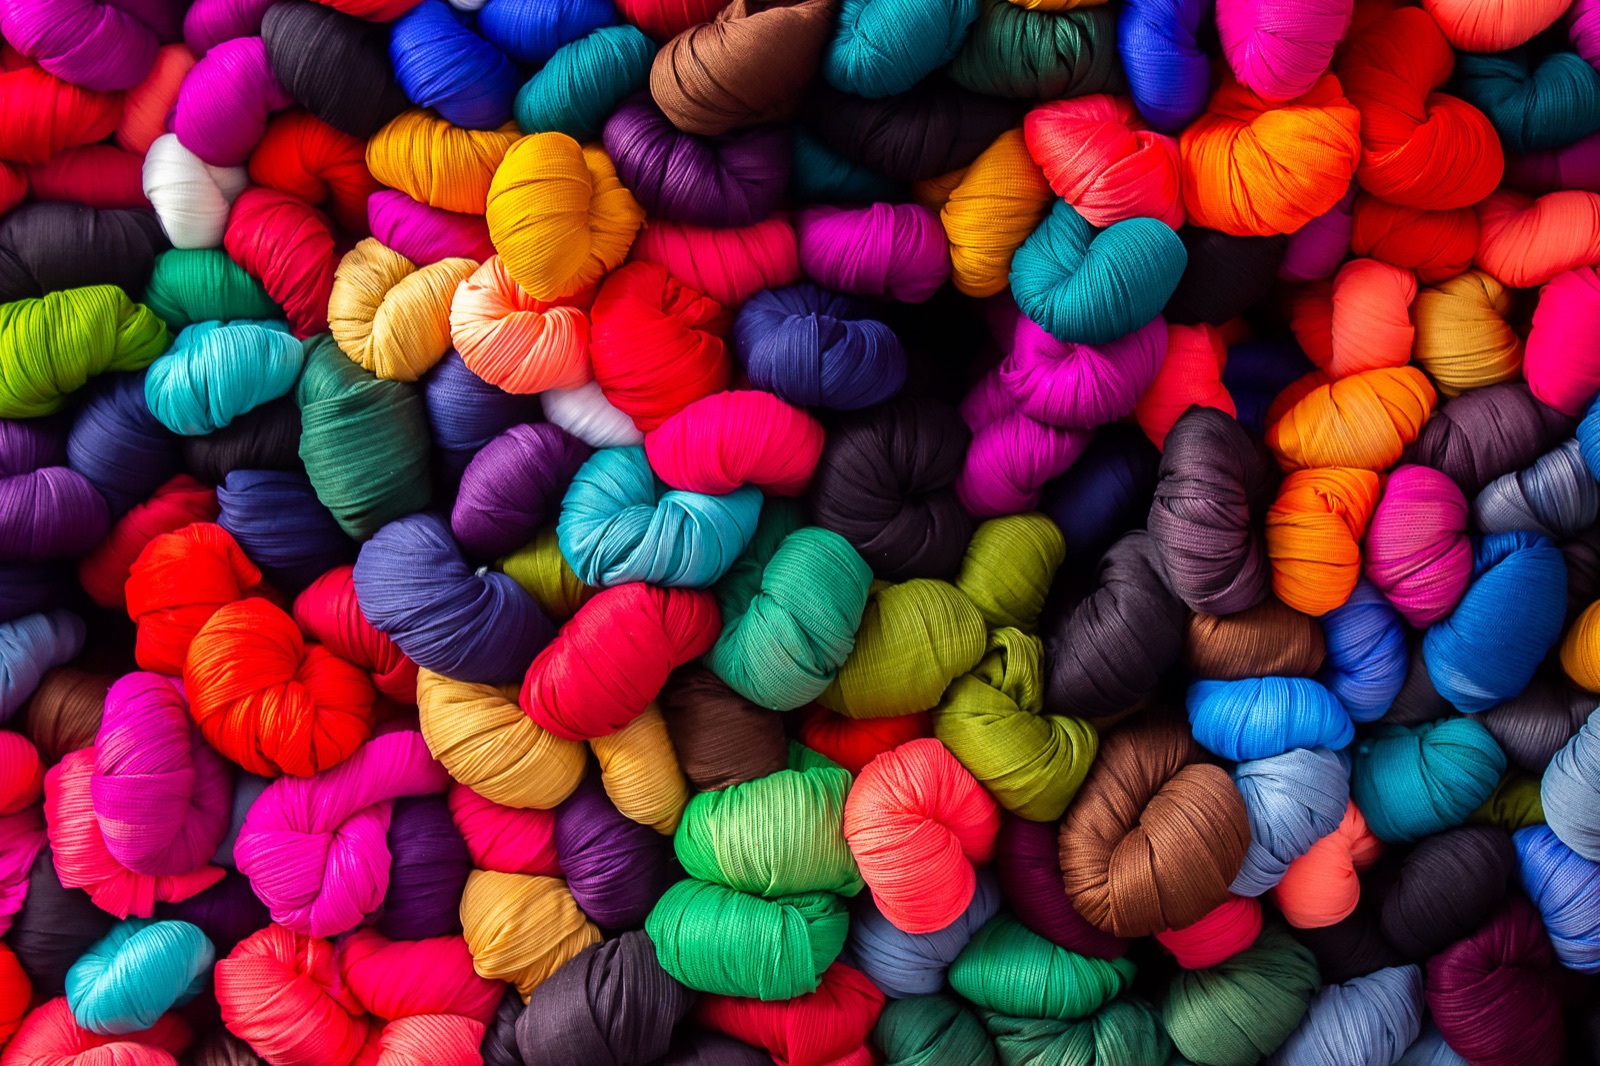
A yarn wig is a costume piece: soft, bright, cheap to make and easy to style into the shapes that real hair won't hold, from rag-doll curls to cartoon bangs and gravity-defying ponytails. If you have wondered how you make a yarn wig, the method is simple: fit a cap, draw the part on it, then sew or glue bunches of yarn along that part and around the head until the cap is covered. This guide walks through the cap, a basic sewn wig, a no-sew glued version, curly and brushed-out yarn, and a paper wig for when you need something even quicker.
What you'll need
Essentials
-
Yarn
: made Everyday's wigs took one to two skeins each; long hair all around takes two. -
A fitted cap
: a knit beanie, a swim cap, a wig cap or a cap cut from tights holds the yarn on the head. -
Fabric marker or chalk
: marks the part and the hairline on the cap before you attach anything. -
Needle and heavy-duty thread, or a sewing machine
: stitches the yarn bunches to the cap along the part and in rows. -
Sharp scissors
: for cutting lengths, trimming bangs and evening out the ends.
Optional
-
Low-temperature glue gun
: for a no-sew wig, attaching the yarn without stitching. -
Foam or canvas head
: holds the cap at head shape while you mark, sew or glue. -
Narrow elastic
: sewn inside a stretchy beanie, it stops the cap from stretching out as you work. -
Liquid starch and large straws
: for setting yarn into ringlet curls. -
Wire pet slicker brush
: for brushing yarn out into a fluffy, less shiny texture.
Choose the cap
The cap is the base everything is attached to, so it needs to fit the wearer's head snugly without squeezing.
Cap options
Made Everyday's yarn wig tutorials use any fitted cap: a knitted beanie, a swimmer's cap, or a cap made from an old pair of tights by knotting the leg and zigzag-stitching just below the knot. Tikkido's curly wig uses a wig weaving cap. A plain wig cap works as a cosplay wig cap too. Pick a color close to the yarn, so that any small gap reads as hair rather than as cap.
Keep the cap in shape
A knit beanie stretches as you sew into it. Made Everyday found it helps to sew a strip of narrow elastic (3/8 inch) around the inside edge, stretching it slightly as you zigzag it on. Putting the cap on a foam head or a canvas block head while you work also keeps it at head shape and frees both hands.
Mark the part and hairline
Put the cap on the head form and draw the part with a fabric marker, chalk or a marker. If the wig has bangs, mark where they will start at the front. Everything else is placed in relation to these lines.
How to make a yarn wig by sewing
Sewing is the method Made Everyday uses for all four of its wigs, by machine or by hand.
Make the bunches
Made Everyday gathers the yarn into loops by winding it back and forth between outstretched arms. Each bunch folds in half over the stitch line, so it needs to be roughly twice as long as the finished hair. For bangs, use shorter bunches. For a very full look, fold the yarn; for a lighter wig, Made Everyday sews bunches at their ends so they hang single.
Sew along the part
- Start with the cap upside down under the machine or in your hand, and lay the first bunch across the part line.
- Sew across it with a straight stitch through one layer of the cap. On a machine, backstitch only at the first and last bunch.
- Push each new bunch tight against the one before it, then sew across it. Made Everyday warns that you'll need more bunches than you think, and that any space between them shows as a gap.
- Continue down the part to the nape.
The loops do not need to be even at this stage, since you trim them at the end.
Fill in the sides for long hair
A wig with long hair all around needs coverage below the part too. Made Everyday sews this style in rings around the cap, starting with the lowest ring and working up, with the bunches a little more spaced out on each ring so the layers do not get too thick, and finishes with the middle part on top. It notes this style takes two skeins and more patience.
Bangs
Sew bangs first, in a line across the front. When the hair falls, the bangs fold over the stitched line into two layers. Cut them straight across for a fringe, or leave them as loops; looped bangs look best when the loops are all the same size.
Ponytails, braids and buns
Once the yarn is on, style it like hair: gather it into low side ponytails, braid it or twist it into buns, then trim the ends. Made Everyday found a yarn tie or a hair elastic holds a heavy yarn ponytail better than a rubber band, and that with a lot of yarn a faux bun is easier than a real one.
How to make a yarn wig without sewing
A glue gun needs no sewing skills. Tikkido, who sewed her curly wig, suggests a hot glue gun would work too and would be fine for costume purposes if needle and thread are not your thing.

- Pull the cap over a foam or canvas head. Never glue on a cap while someone is wearing it.
- Start at the bottom edge of the cap. Run a short line of glue, press a few strands of yarn into it, and let it set before the next section.
- Work upward in rows, so each row of yarn falls over the glue line beneath it.
- Finish with the part at the top: glue the bunches along the marked line so they fall to either side and cover the last rows.
- Let everything cool fully, then check every bunch is held and trim the ends.
Glue gun safety
GlueGun.com reminds users that even low-temperature guns can burn and cause electric shocks. Read your gun's instructions, use the glue sticks it recommends, and work on a heat-safe surface such as a tile. Rest the gun upright on its stand, never leave it plugged in unattended, keep it away from children and pets, and do not touch the nozzle or fresh glue. GlueGun.com suggests a lower heat setting for delicate materials such as thin fabric, and notes that some low-temperature guns suit older children, but only with adult supervision. If hot glue lands on skin, the NHS advises holding the burn under cool running water for 20 minutes; get urgent medical help for a large or deep burn or one on the face.
Curly yarn wig
Curls make a rag-doll or clown style. Tikkido sets the yarn into ringlets before it goes on the cap:
- Cut yarn into lengths about as long as your outstretched arms.
- Soak them in undiluted liquid starch, squeeze out the excess and wrap each length around a large straw, such as a milkshake or bubble tea straw.
- Let the yarn dry completely. Tikkido air-dries it or bakes it on low (200 to 225°F for about an hour).
- When it is dry and cool, slide the curls off the straws.
- Gently pull each curl to loosen it, fold it in half and tie the middle with a short piece of yarn, then cut the loop on one side to make a cluster of curls.
Sew the clusters on with heavy-duty button thread, starting at the outer edge of the cap and working toward the crown. Curls are so full that the clusters can sit about an inch apart; even so, Tikkido's wig used more than 100 clusters.
Brushed-out yarn wig
Brushing separates the plies of a yarn into a cloud of fiber that looks softer and less like string. PlanetJune, which brushes crochet this way, uses a wire brush such as a pet slicker brush and finds it takes around 10 to 20 firm strokes on each area for the fluff to come up; brushing too gently does little. Wool and other natural fibers brush up well, and acrylic works too, with the bonus that brushing softens its shine.
Brush the lengths before attaching them, test the brush on a scrap of the same yarn first, and do the brushing over a bin, since brushing releases loose fiber.
How to make a paper wig
For a stage prop, display or a one-night costume, paper is even quicker. The Henry Ford's conservators made historic-style paper wigs from heavy watercolor paper; after testing, they chose a 90 lb cotton watercolor paper:
- Cut the paper into strands, leaving a 1/2-inch uncut strip along the top as the "roots".
- Curl each strand by pulling it along scissors, the way you would curl balloon ribbon.
- Pin or tape the sections to a fabric-covered foam head, deciding first where the hairline starts.
- Pull back sections around a ball of tissue paper for volume, and tape thick sections where pins slide out.
Paper is not wearable for long, but it photographs well and is easy to color.
How to make a costume wig look better
Whether it is homemade yarn or a store-bought costume wig, the same finishing steps help:
- Fill the gaps. Hold the wig up to the light, look for cap showing through, and add bunches there.
- Trim it on the head. Put it on the wearer or a head form and cut the bangs and ends to shape.
- Style it. Ponytails, braids, buns and curls hide uneven areas and make the wig look deliberate.
- Tame the shine. Brushing yarn softens it; for synthetic costume wigs, a light dusting of powder dulls the plastic look.
- Secure it. A snug cap underneath and a few bobby pins at the sides stop a heavy wig from sliding.

Common mistakes
- Too few bunches. Most first yarn wigs are thin at the part. Pack the bunches tight.
- No part line. Without a mark on the cap, the part wanders and the hair falls unevenly.
- A cap that stretches. Add elastic inside a beanie, or use a less stretchy cap.
- Heavy glue. Thick glue lines make the wig stiff and can be felt through the cap. Use short, thin lines.
Care and storage
Store a yarn wig on a foam head or stuffed into its own shape in a box, so the style and bangs don't crush. Spot-clean it rather than washing it where you can, and keep starched curls dry so they hold their shape. For wigs made from hair and fiber rather than yarn, see how to make a wig and the rest of wig making.
Questions
How much yarn do you need for a yarn wig?
Made Everyday's yarn wigs each took one to two skeins, and a wig with long hair all around took two. A curly wig made of many small clusters takes a lot of yarn, so buy extra from the same dye lot.
How do you make a yarn wig without sewing?
Glue the yarn to the cap with a low-temperature glue gun, attaching a few strands at a time and starting at the bottom edge so each row covers the glue of the row below. Work on a cap pulled over a foam head, not on someone's head, and let the glue cool before trying it on.
What should I use as a cap for a yarn wig?
A knit beanie, a swim cap or a wig cap all work; you can also cut the leg off a pair of tights, knot it and stitch below the knot to make a dome. Choose a cap in a color close to the yarn so gaps don't show.
How do you make a brushed-out yarn wig?
Use a yarn that brushes up well, such as wool or acrylic, and brush each length with a wire pet slicker brush using firm strokes until the fibers separate into fluff. Test on a scrap first, and expect to lose some fiber into the brush.
Is a yarn wig good for everyday wear?
No. A yarn wig is a costume or craft piece for dress-up, theater, cosplay or play; it is usually warm and bulky and not made to be washed often. For everyday wear, a wig made of human hair or wig fiber is the right choice.
Sources
Read next
Wig cap guide: nylon, HD, mesh and dome caps and how to choose
Which cap goes under a wig and which one you build a wig on, how to match the color to your skin, and how to wear one over braids or long hair.
Canvas wig head: how to choose a canvas block head for wig making
Size, fill, neck length and mounting: what separates a canvas block head you can sew on from one that only holds a wig.
How to make a wig: a first closure wig from cap to finished unit
Measure, set up the cap, sew the closure and the wefts, then finish the unit, with the tools for each step.